These easy bake sale treats will not only help you fundraise at school or for an event, but can also teach kids and teens some powerful entrepreneurial skills.
Looking for some unique and simple bake sale ideas to fundraise for your child's school, or for your organization?

I’ve got some fresh ones for you below.
The great thing about a fundraiser (especially school ones) is that it gives your child the opportunity to flex their entrepreneurial muscles a bit.
They can help with gathering ideas, writing out the ingredients list, shopping for everything, and then pricing it so that a profit is made.
Easy Bake Sale Treats that Will Sell
Just follow the simple steps, and your child will soon be creating their first business product, plus learning how to sell something!
They’re about to learn some fantastic skills (not to mention, raise some cash).
1. Edible Dragon's Eggs
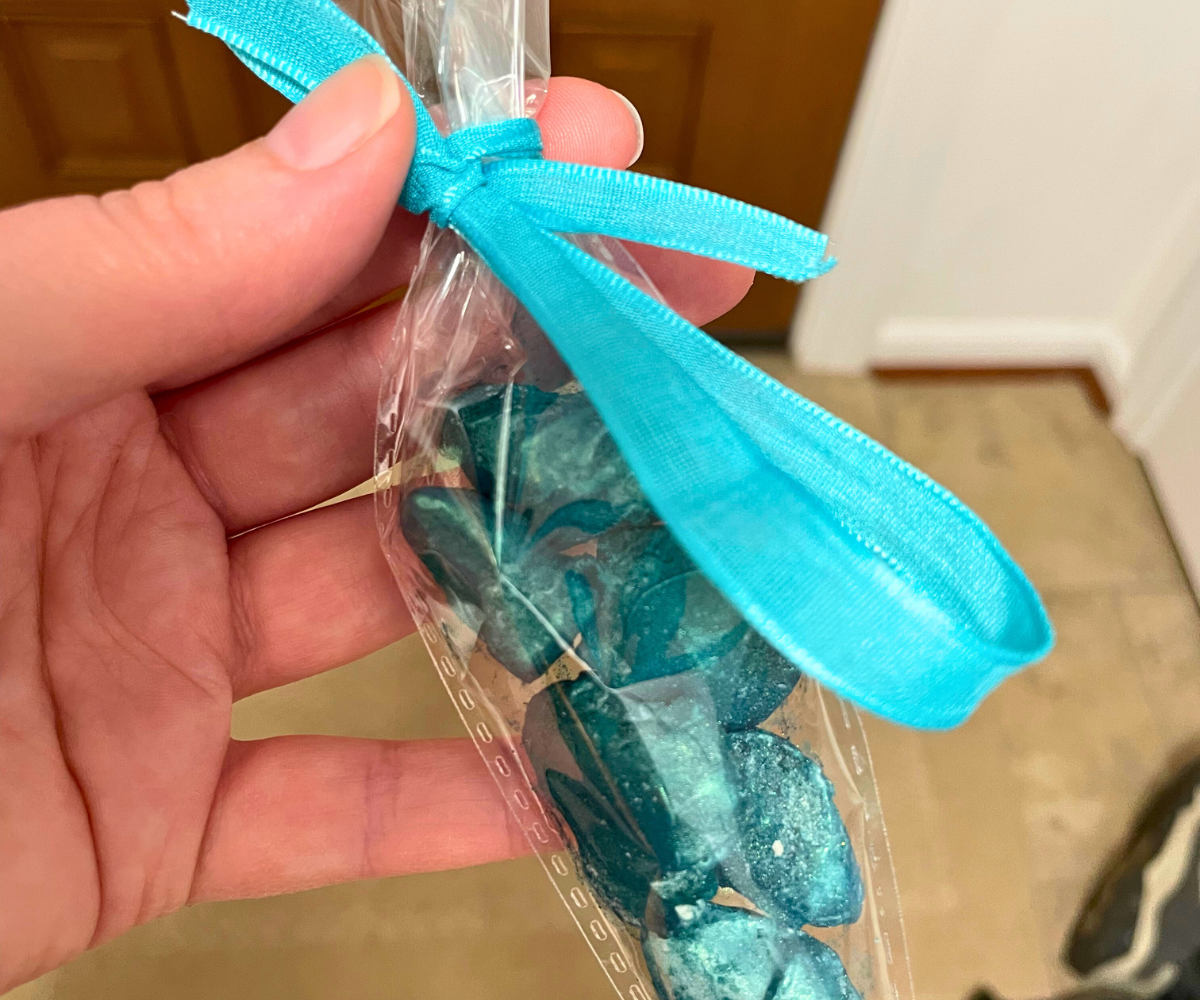

My husband literally cannot stop eating these. They're absolutely delicious and poppable!
It’s kind of hard to coat almonds in a candy melt/coconut oil mixture and get them to look smooth (at least for an amateur baker, like myself).
But I figured out that when you coat those “unsmooth” almonds in edible glitter?
Well, they look like gem rocks!
Ingredients:
- Whole Almonds
- White candy melts (or whatever color you’d like)
- Coconut oil
- Edible Glitter (a little goes a long way)
Instructions:
Melt together a bunch of candy melts and coconut oil (about 1-1.5 tbsps. of coconut oil to one cup of candy melts).
Drop almonds into the melted mix, and stir to cover thoroughly.
Use a slatted spatula or spoon to fish the almonds out. Lay them on parchment paper to cool.
Put 1.5 tbsps. or so of edible glitter into a small plastic bag, and add in 5-7 coated almonds at a time. Shake them up, then take them out and put them on a plate. Repeat for all of the coated almonds.
Then package them up, like in these cone-shaped plastic bags tied with a ribbon.
2. Foot-Long Cookie Bars
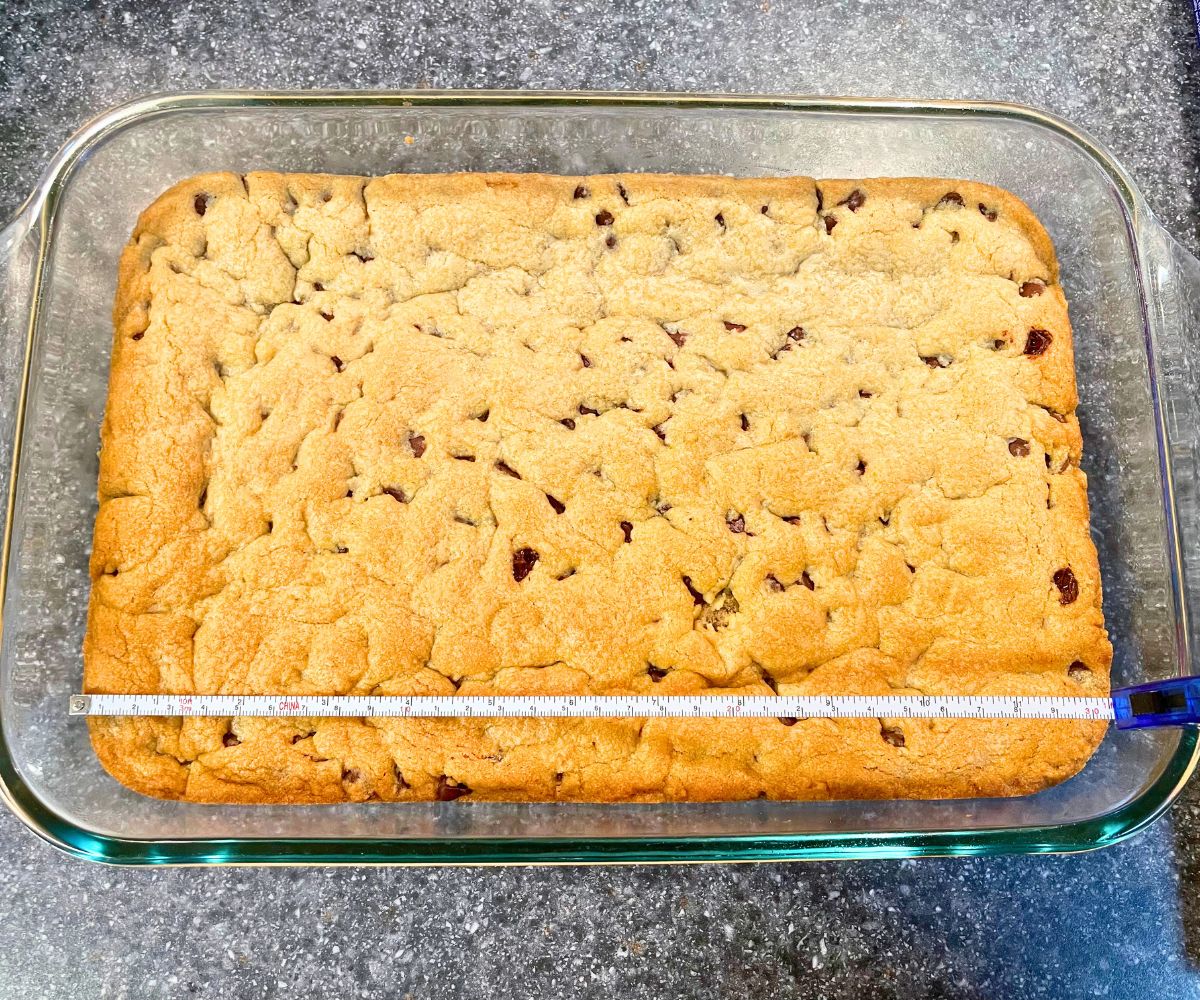


Have you seen the new foot-long cookie bars at Subway®?
I thought they’d be perfect to sell at an event – especially because someone walking around eating a foot-long cookie is a great advertisement, too.
This one is quite simple. Find a cookie bar recipe (I substituted chocolate chips), and make sure it fits into a 9” X 13” pan (which happens to measure 1 ft lengthwise).
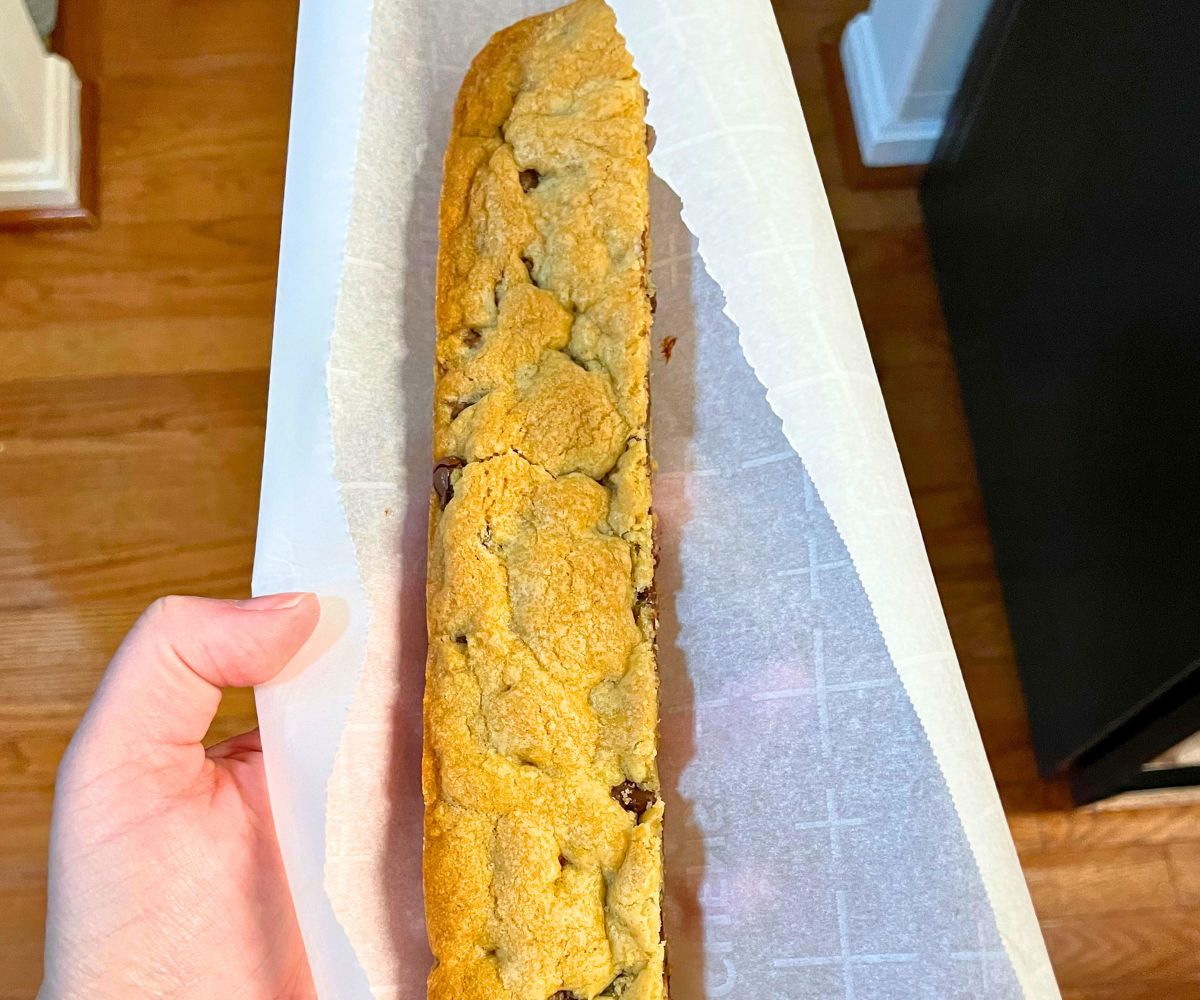
Allow everything to cool, and cut it into 1-ft. long strips.
Then package it up. I was able to fit them into a lunch bag or in some parchment paper (you could staple the end if you want to).
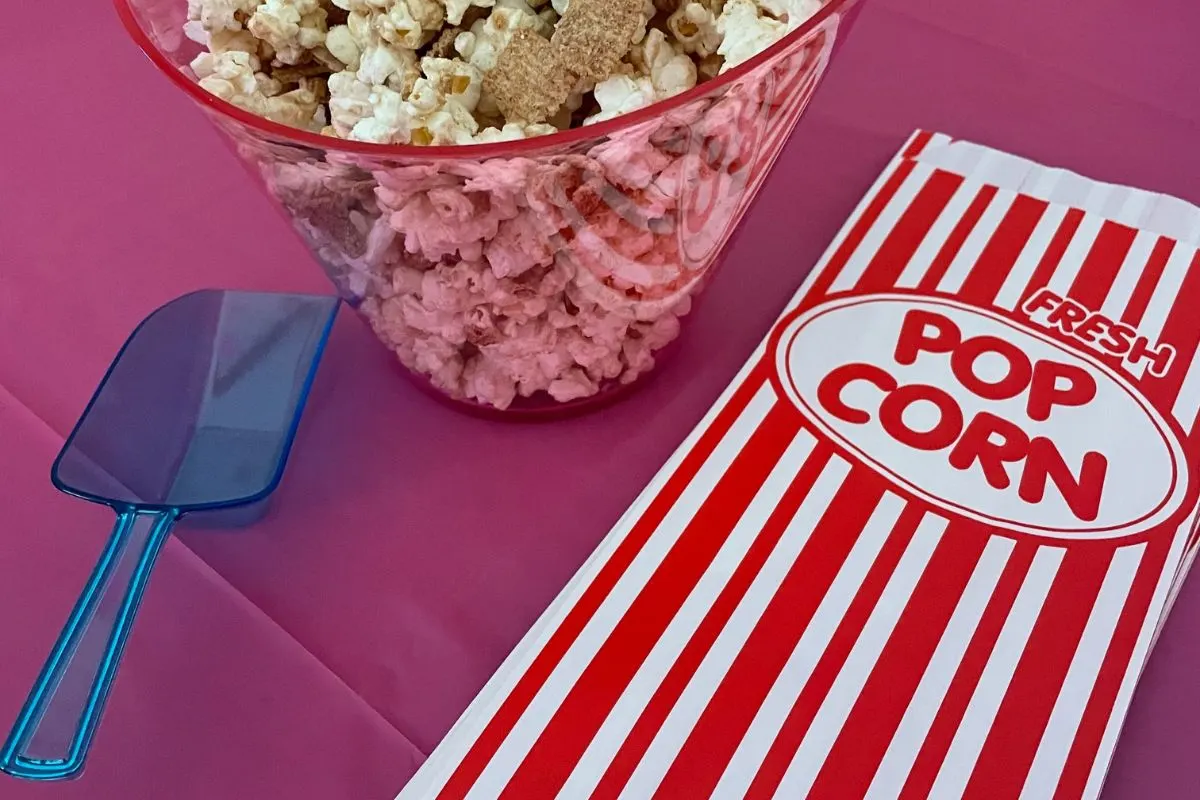
3. Cinnamon Toast Popcorn

Can I say I have a new favorite snack?
Cinnamon Toast Crunch happened to be my favorite cereal and snack when I was a teen – so when I saw not only the cereal but also a new Cinnamon Toast Crunch Cinnamon Spread at Dollar Tree?
Well, I got an idea.
And that’s how this awesome Cinnamon Toast Popcorn was born.
Ingredients:
- 1 jar of Cinnamon Toast Crunch Cinnamon Creamy Spread
- 1 bag of Cinnamon Toast Crunch cereal
- 1 bag of popcorn kernels
- Popcorn bags (optional)
Instructions:
- Step #1: Pop the popcorn. You can pop about ½ cup in one lunch bag (the bigger the lunch bag, the better). I popped it for 2.5 minutes in the microwave – your time may vary depending on the microwave.
- Step #2: Take ½ cup of cinnamon cream spread, and microwave it for around 20 seconds. You want it to be very spreadable and thin.
- Step #3: Remove as many unpopped kernels as possible. I did this easily by tapping on the bowl a few times and then transferring the popcorn with gloved hands to another bowl. The kernels were all at the bottom, so I could easily throw them out.
- Step #4: Use a spatula and put all the creamy cinnamon spread into the bowl. Carefully mix around until there’s a nice coating on most of the popcorn.
- Step #5: Take ½ cup to ¾ cup of the cinnamon cereal, and crush it up. Sprinkle this all over the popcorn. Mix the popcorn until there’s a nice coating.
- Step #6: Let it firm up a bit before putting it into popcorn bags to sell (hint: it will stay slightly sticky).
I hope it sells like hotcakes cinnamon toast popcorn
4. Gourmet S'Mores Kits

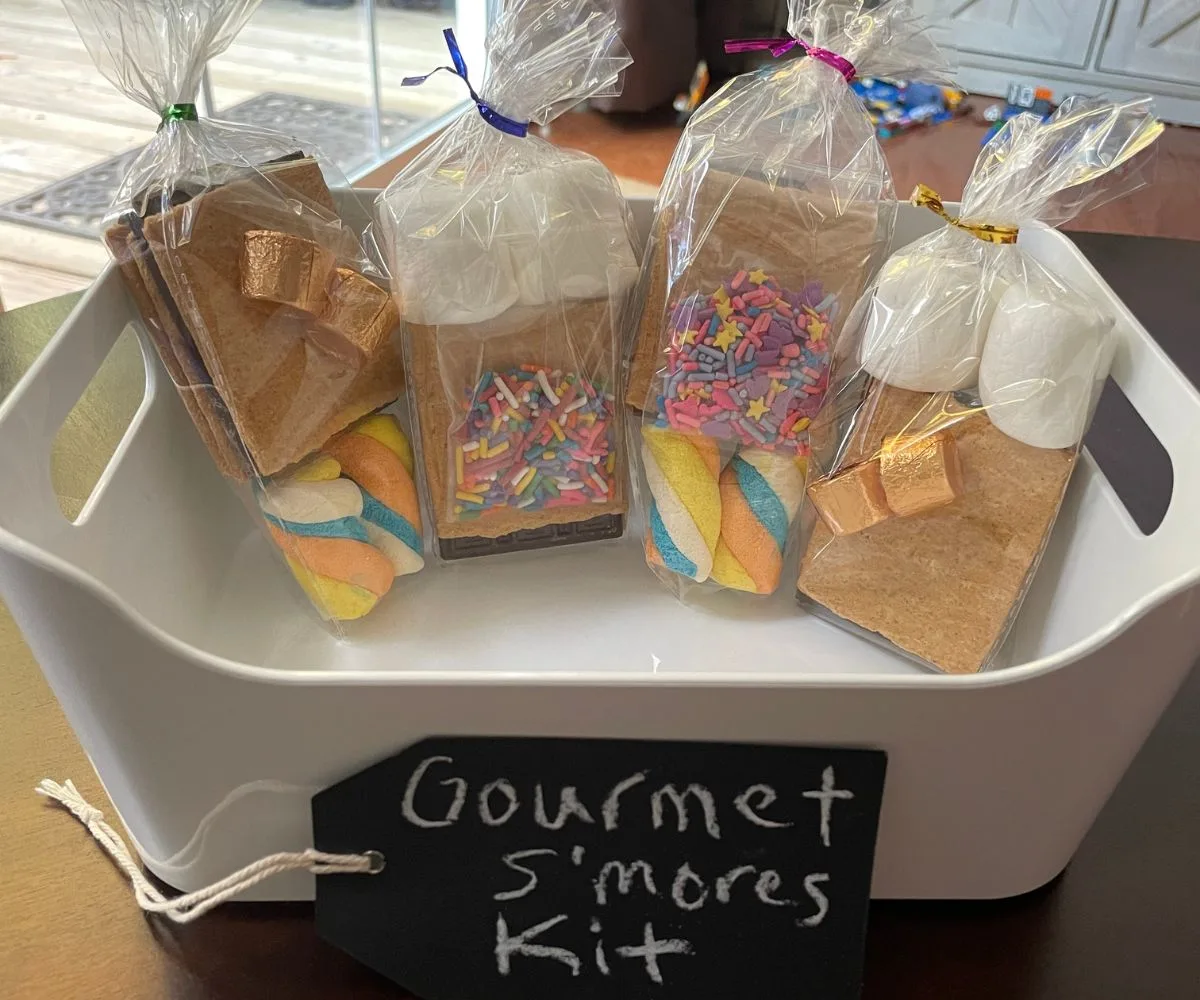
People LOVE making s'mores. Why not give them the opportunity to make s'mores after your big market day event?
The selling point for these is to turn them into “Gourmet” s'mores kits.
The selling point for you? You don't even have to bake anything!
To do that, you can include things like:
- Cone Treat Bags + colorful Twist Ties
- Unicorn marshmallows (sold at Dollar Tree)
- Rolos to use in place of or along with the chocolate
- Sprinkles to roll the outside gooey, melted marshmallow into
- And of course, a bigger piece of a chocolate bar, and the graham cracker
A cost breakdown for this one is a little difficult because there are so many different variations you can make, so I'll skip this one (here's how to price your market-day items).
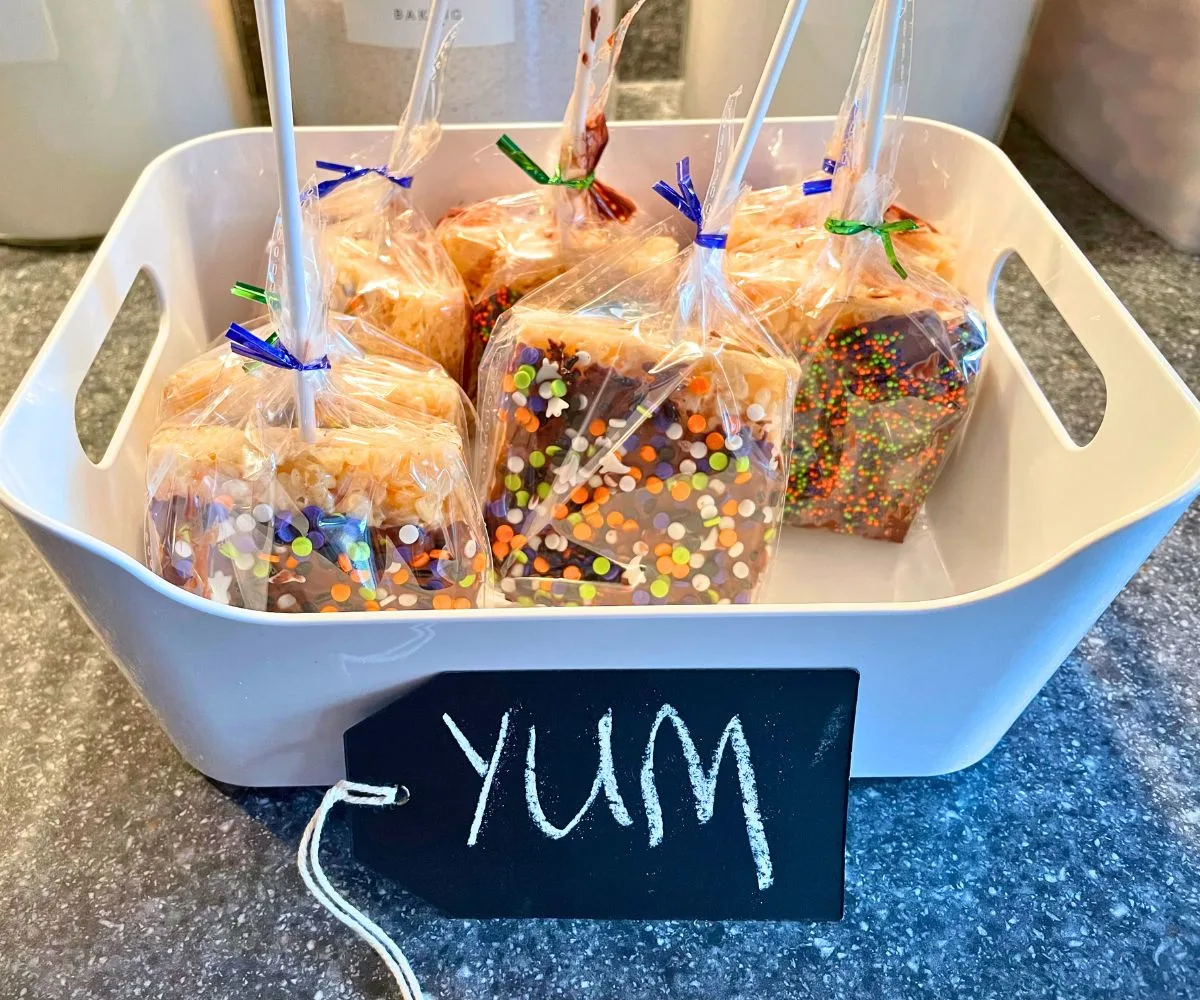
5. Rice Krispies Treats™ Pops
What an awesome and simple upgrade to the typical Rice Krispies Treats™!

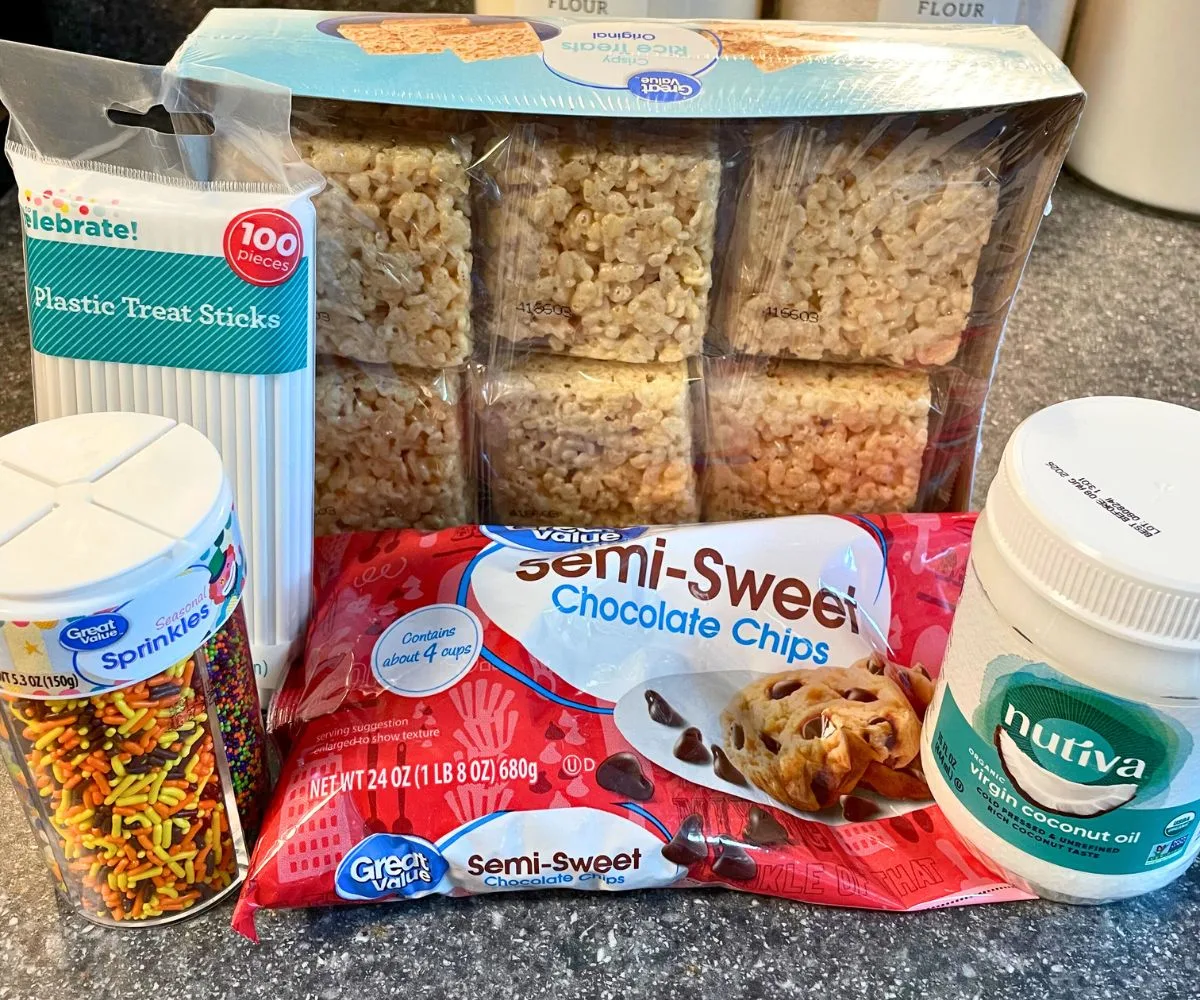

Ingredients:
- Chocolate to melt (like semi-sweet chocolate chips)
- Coconut Oil
- Rice Krispies Treats (homemade, or store-bought)
- Sprinkles to dip in
- Food-grade treat sticks/popsicle sticks
Instructions:
Melt the chocolate in the microwave, using a mini slow cooker, etc. Add in about 1 tbsp of coconut oil per cup of chocolate.
Stick the treat sticks through each Rice Krispies Treat™.
Dip the Rice Krispies Treat into the chocolate. Tap it against the side of the bowl to remove excess chocolate. Doesn’t have to cover the whole thing, or be perfect!
Dip it into sprinkles.
Set it on a cooling rack to harden up.
Package them up.
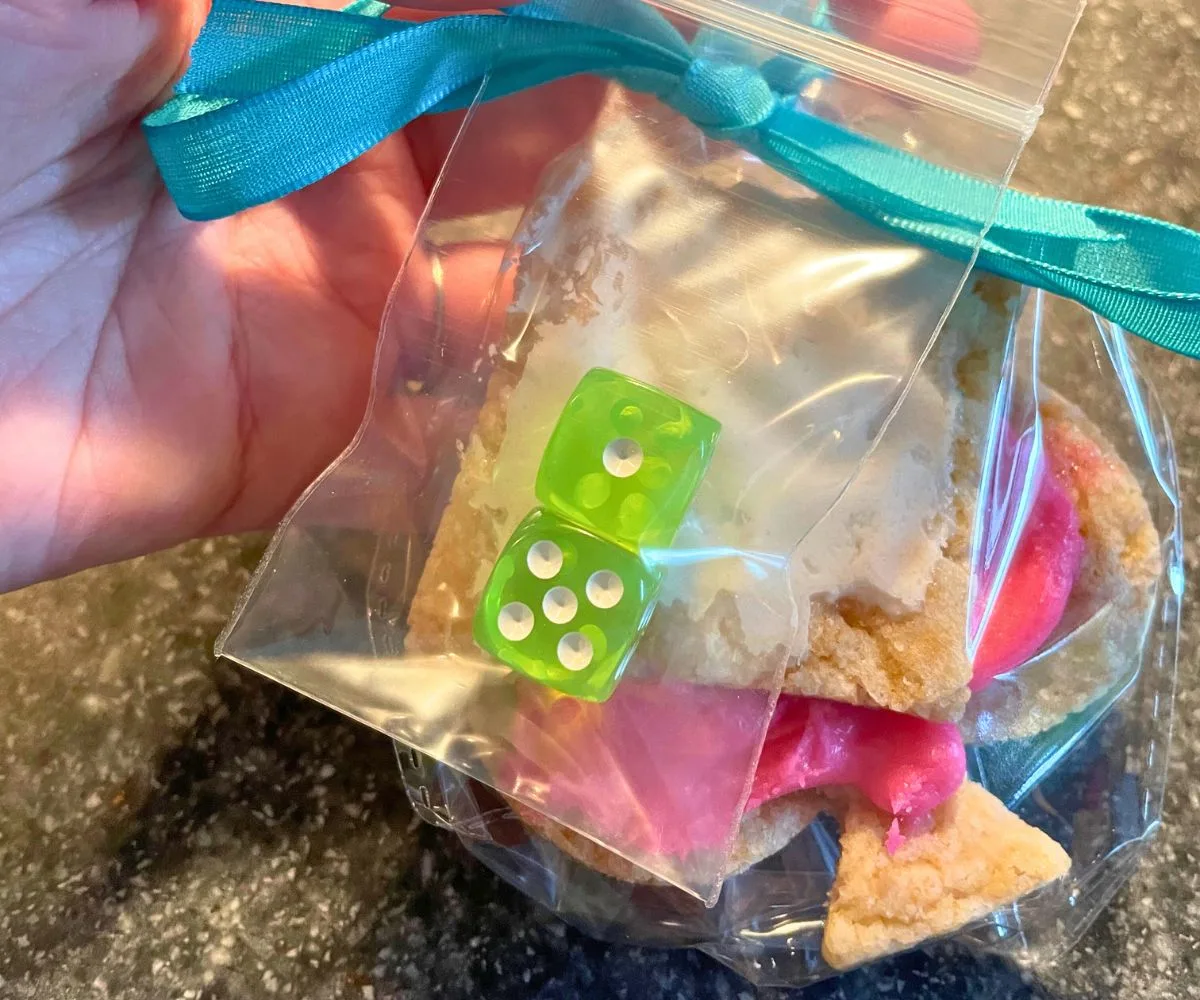
6. Playing Card Cookies with Dice

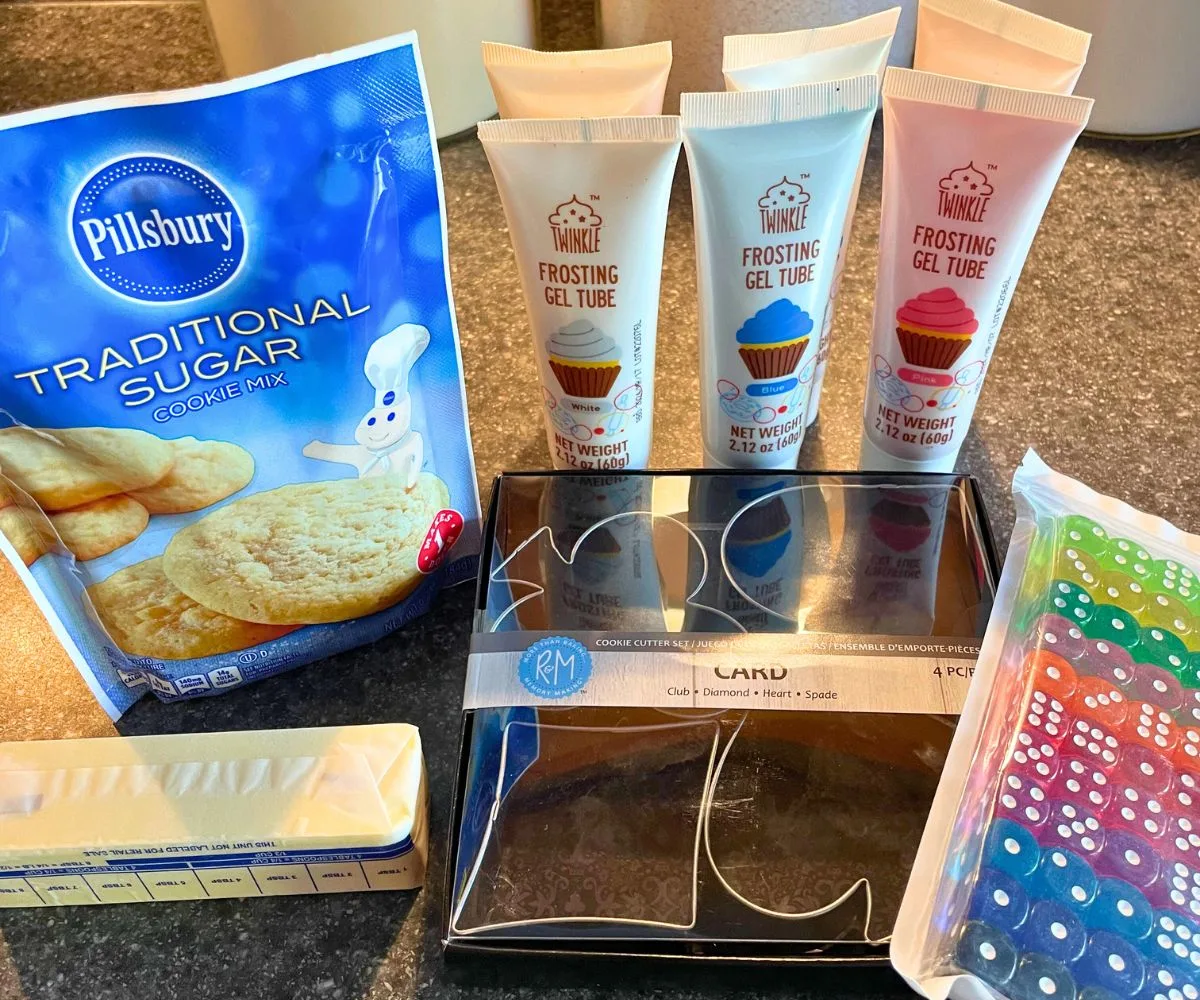

Sometimes, packaging a product with a little somethin’ extra makes all the difference.
That was my thinking with this idea: to bake card-shaped cookies and include colorful dice with each purchase.
You can find the playing card suit cookie cutters here, and the colorful dice here.
You’ll want to find a sugar cookie recipe (I used a package from the Dollar Tree, just to show you my idea), and icing that will harden.
Bake the cookies in the playing card suit shapes, add icing to them, and allow them to harden/dry, then package them up with as many dice as you’d like (I put the dice in really small baggies so that they wouldn’t touch the food inside).
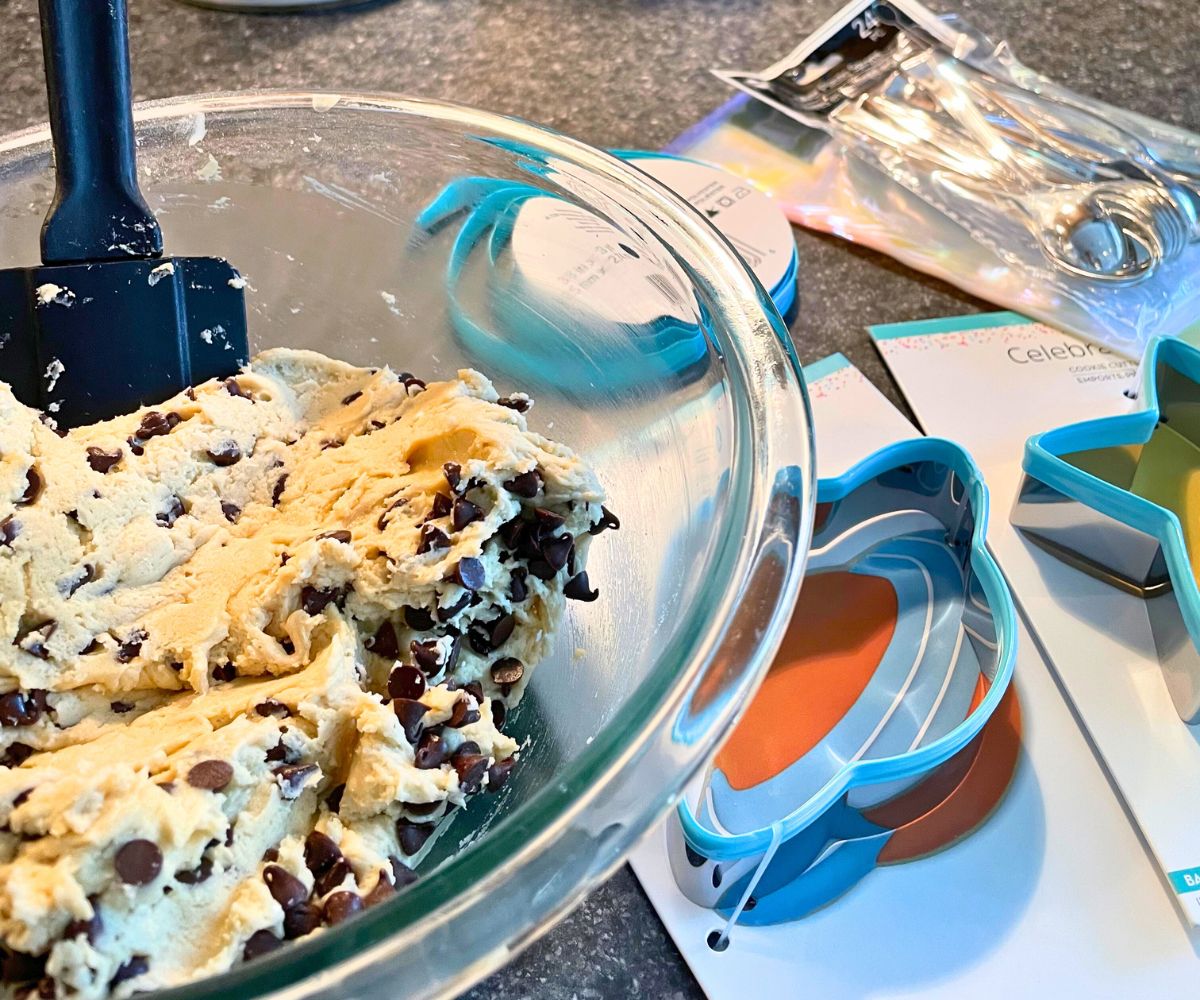
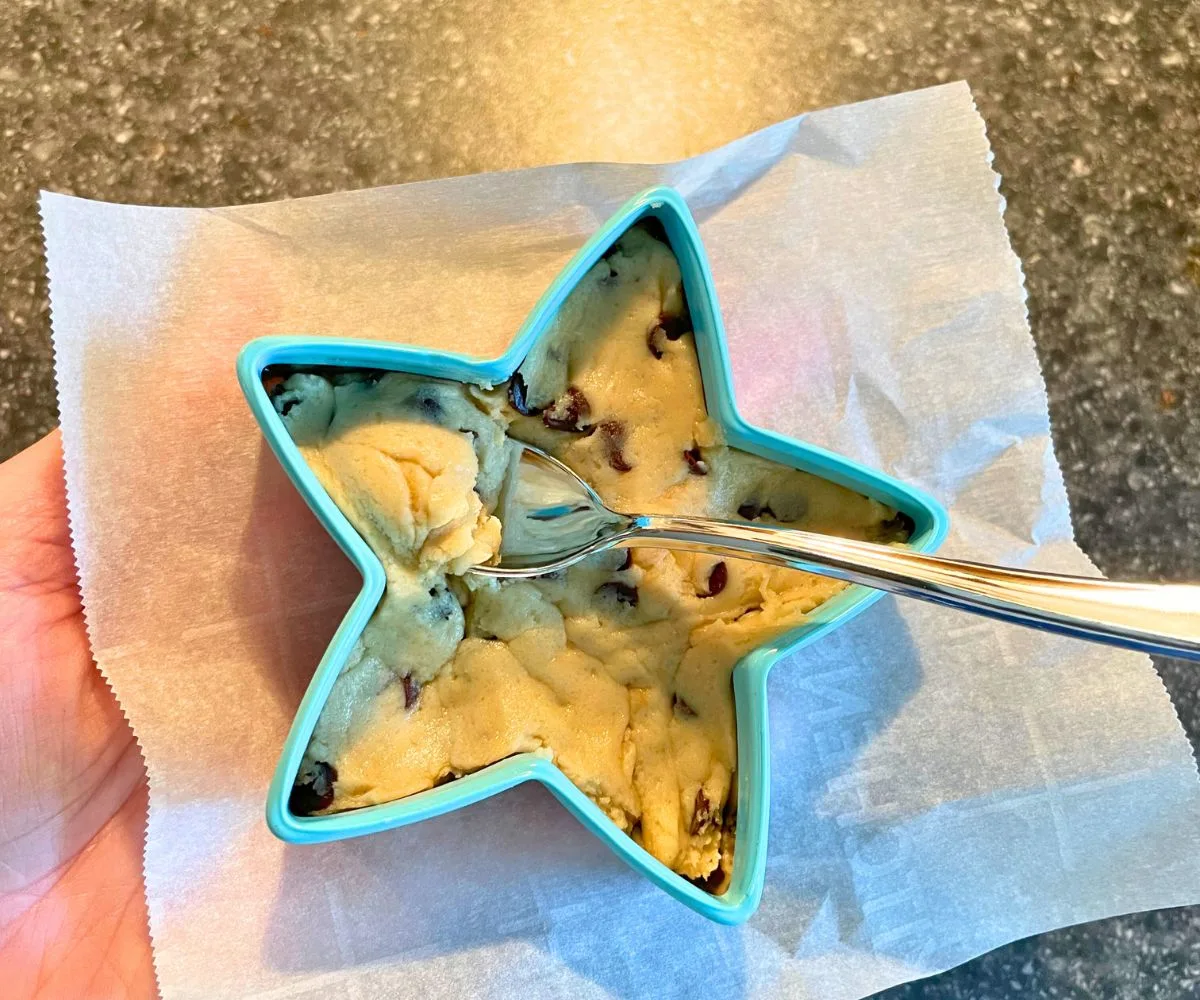
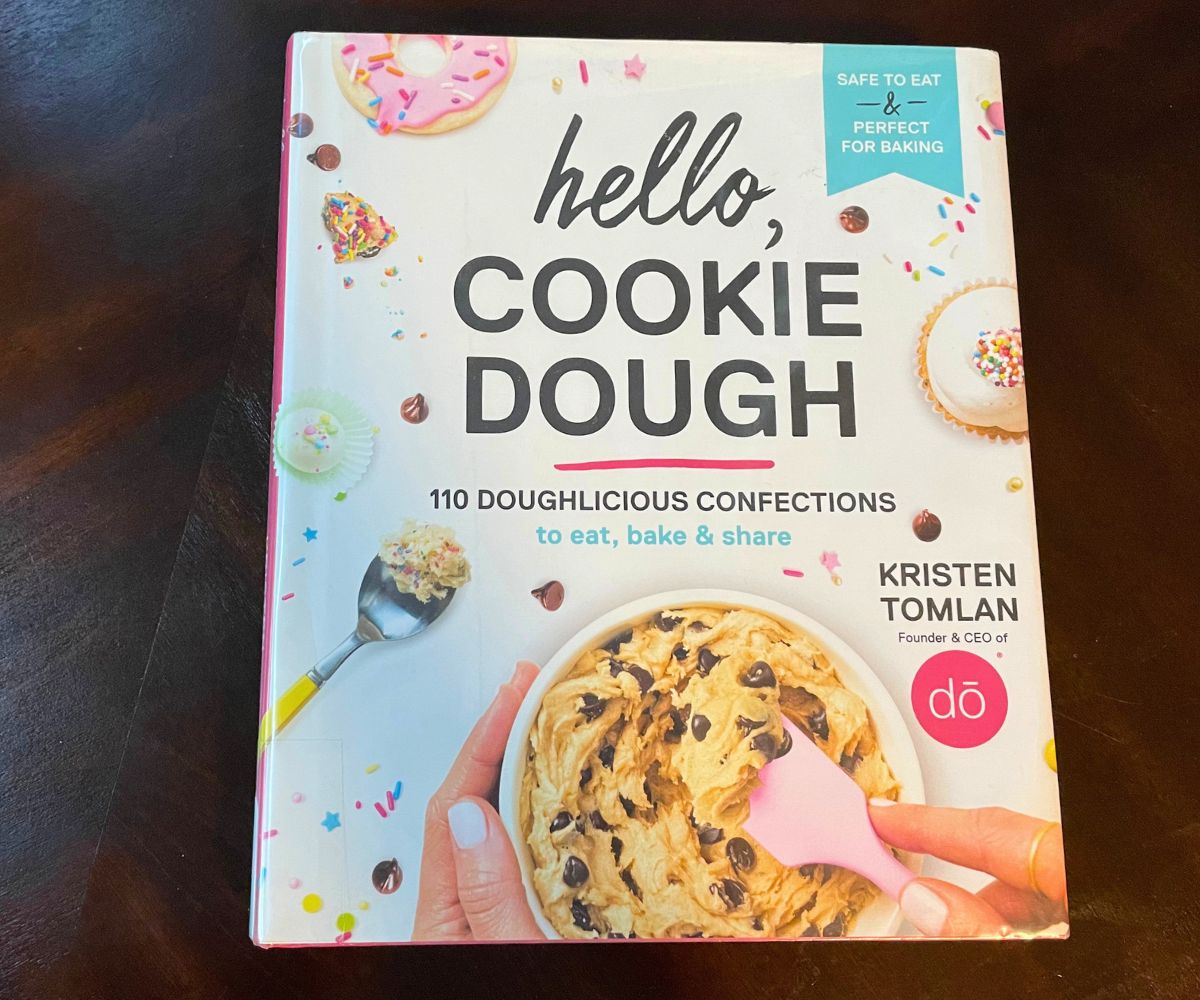
7. Cookie Dough Cutters


Did you know there is a safe way to eat raw cookie dough?
In fact, people have made entire businesses from it!
What makes it “safe” is that you heat-treat the flour, and you use pasteurized egg whites in the recipe.
I read Kristen Tomlan’s book Hello, Cookie Dough, and got to thinking…why not create safe raw cookie dough and package it up in a cute way to sell for market day, bake sales, fundraisers, and more?

Here are the materials:
- Cookie cutters (you might want to get plastic ones, so there’s no potential for rust)
- Little spoons (I got these silver ones at Dollar Tree)
- Plastic bag
- Ribbon
- Ingredients for raw cookie dough
- Parchment paper
After you make the cookie dough, cut square pieces of parchment paper and put one behind each cutter. Fill the cutter with cookie dough (as high as you’d like). Package it with a mini-spoon tied around the plastic with ribbon.
People get to eat the raw cookie dough, and then keep a cute cookie cutter to use later!
Hint: you can get that book for recipes, or look online for safe raw cookie recipes like this one. Also, don’t forget to clean the cookie cutters before using them with food for the first time, and to find a way to keep them cool during the event.
8. Edible Chocolate Gemstones
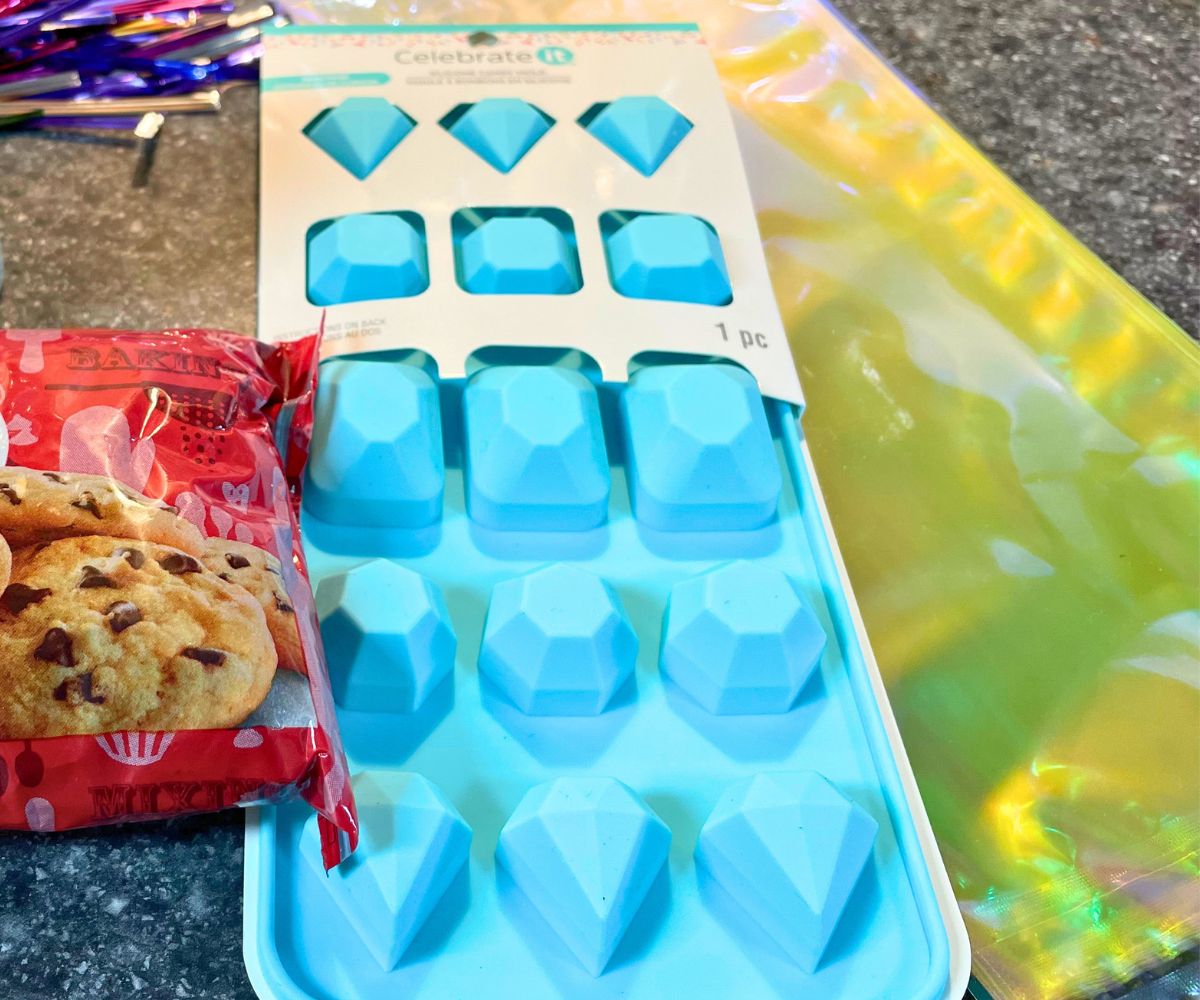

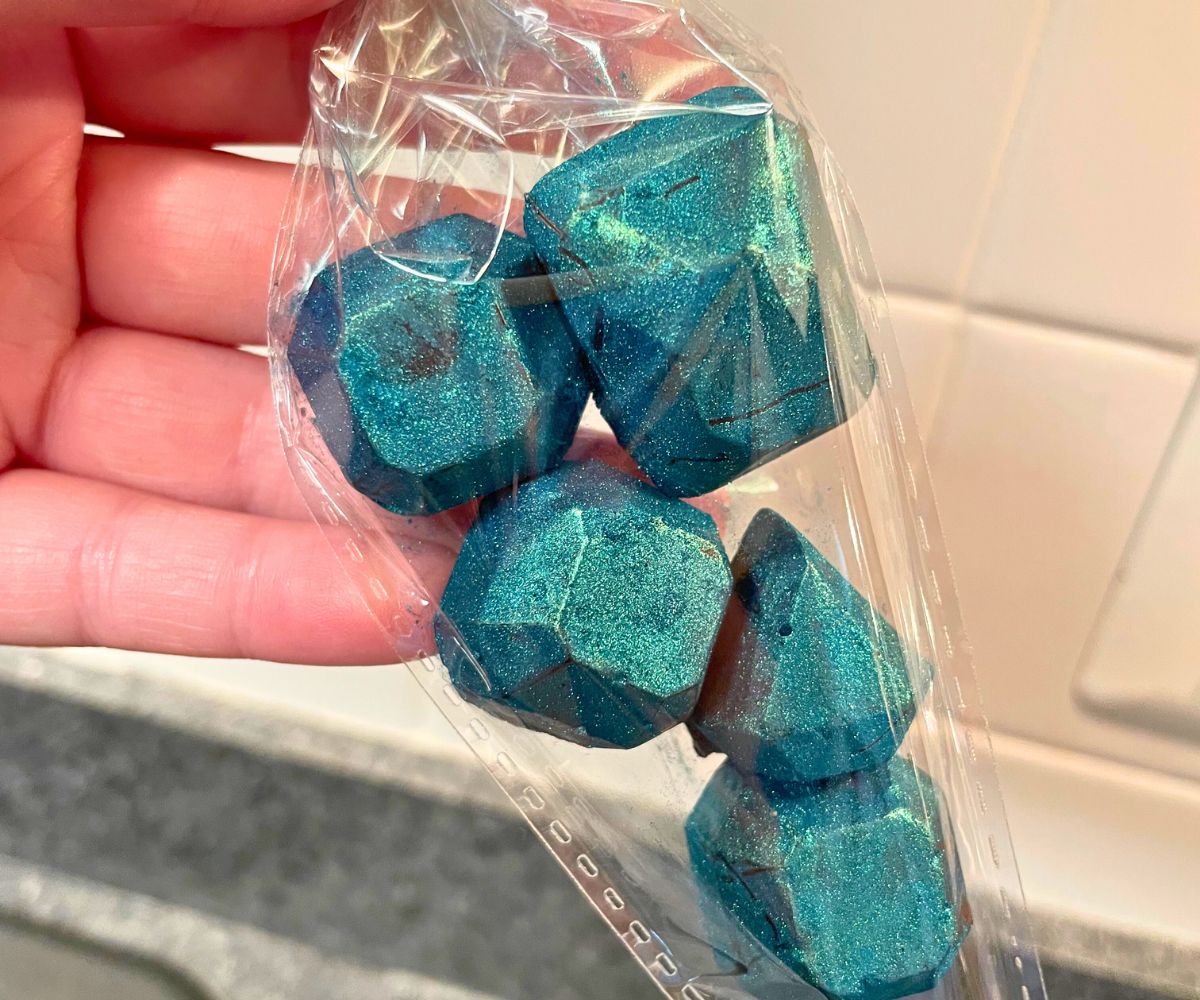

Look at these beautiful chocolate gems?!
They LOOK complicated and expensive…but they're actually quite easy to make. Like, one of the easiest things on this list!
Ingredients:
- Meltable chocolate (like semi-sweet chocolate chips)
- Edible Glitter (a little goes a long way)
- Gem silicone molds
Instructions:
- Melt the chocolate.
- Place in the molds.
- Let cool. Then take the gems out.
- Dip the gems into the edible glitter. I found shaking them around like the old shake'n'bake bag (did I just age myself?) works well to fully coat each piece.
- Package up.
9. Rainbow Chocolate Bars
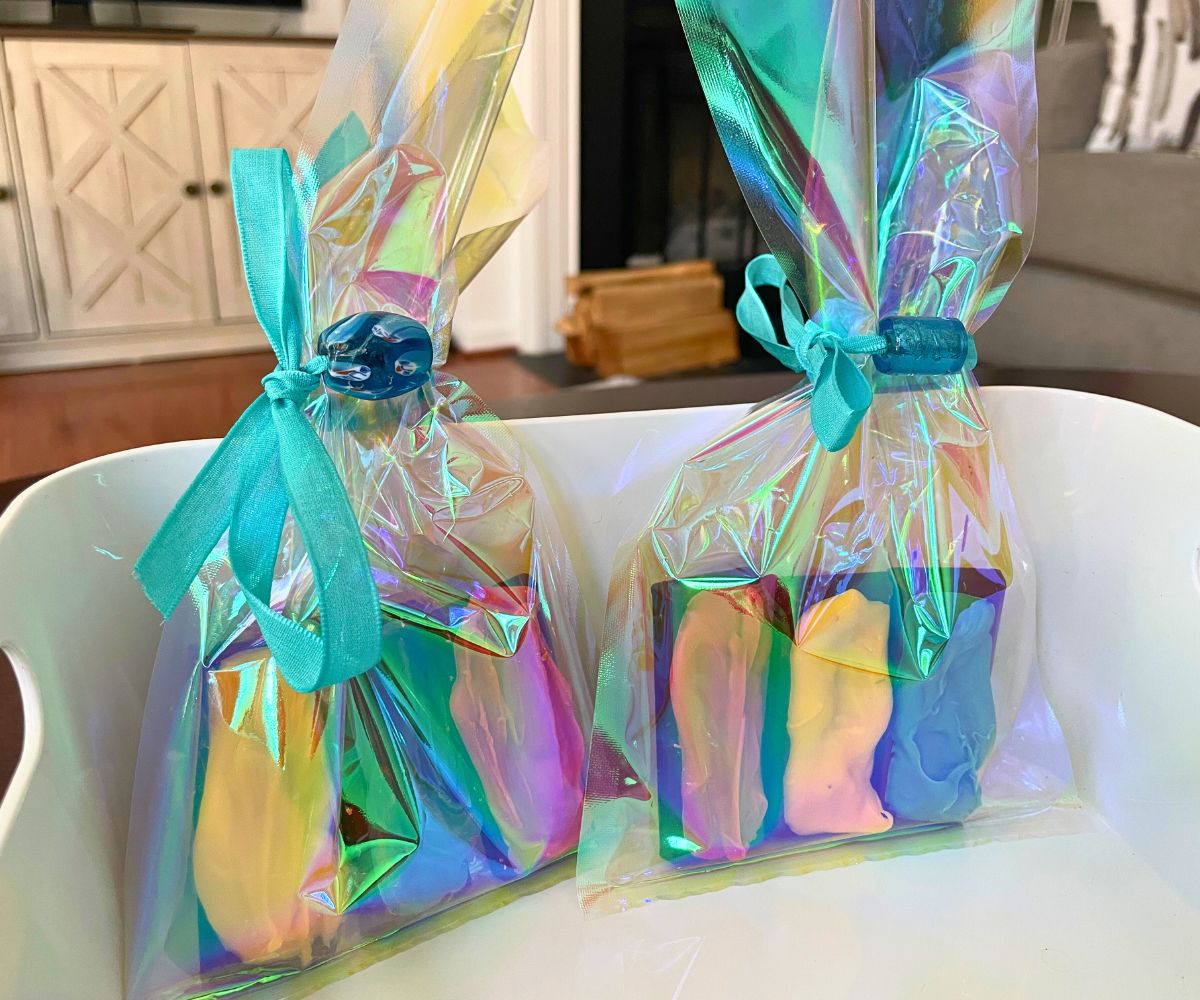
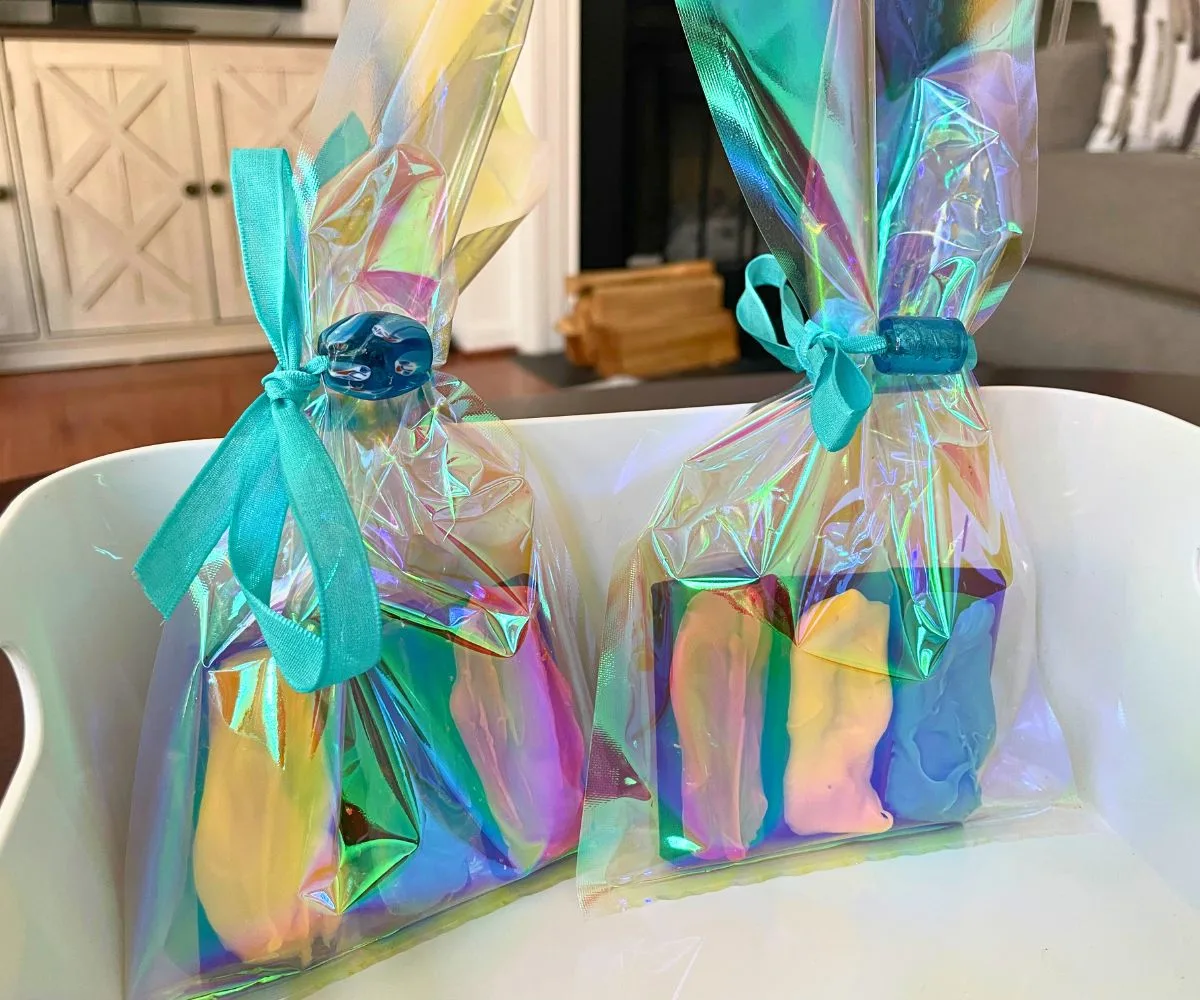
This one is so simple, and it packs a punch!
Ingredients:
- Chocolate Bars
- Colorful Candy Melts
Grab chocolate bars that are already made – definitely price check and try to buy in bulk for this one.
For example, you can buy this pack of 36 full-sized chocolate bars for about $0.65 each.
You’ll need candy melts of different colors, cellophane food bags, and a ribbon to tie them off. I also grabbed some gorgeous glass beads that I thought would interest buyers more because they get to keep the bead after they eat the chocolate!
Simply follow the instructions on how to melt the candy melts, then unwrap and decorate your chocolate candy bars. Splashes of color, coloring the whole bar with one color as I did, or trying out graffiti would be fun, too!
Let them dry and wrap them in a cellophane bag. Thread a glass bead through the ribbon (if you’re using one), and tie it around the bag.
Psst: if your child really gets into chocolate businesses, check out the Chocolate Business Project I did with my own son last summer.
That's it! Which easy bake sale treats are you most excited to make and sell?
More Easy Bake Sale Treats to Make
- 7 Rainbow-Themed Bake Sale Treats to Make
- 5 Fun Fall Bake Sale Ideas
- 7 Simple Market Day Food Ideas to Make and Sell at School

Amanda L. Grossman is a writer and Certified Financial Education Instructor (CFEI®), a 2017 Plutus Foundation Grant Recipient, and founder of Money Prodigy. Her money work has been featured on Experian, GoBankingRates, PT Money, CA.gov, Rockstar Finance, the Houston Chronicle, and Colonial Life.
Amanda is the founder and CEO of Frugal Confessions, LLC. Read more here or on LinkedIn.