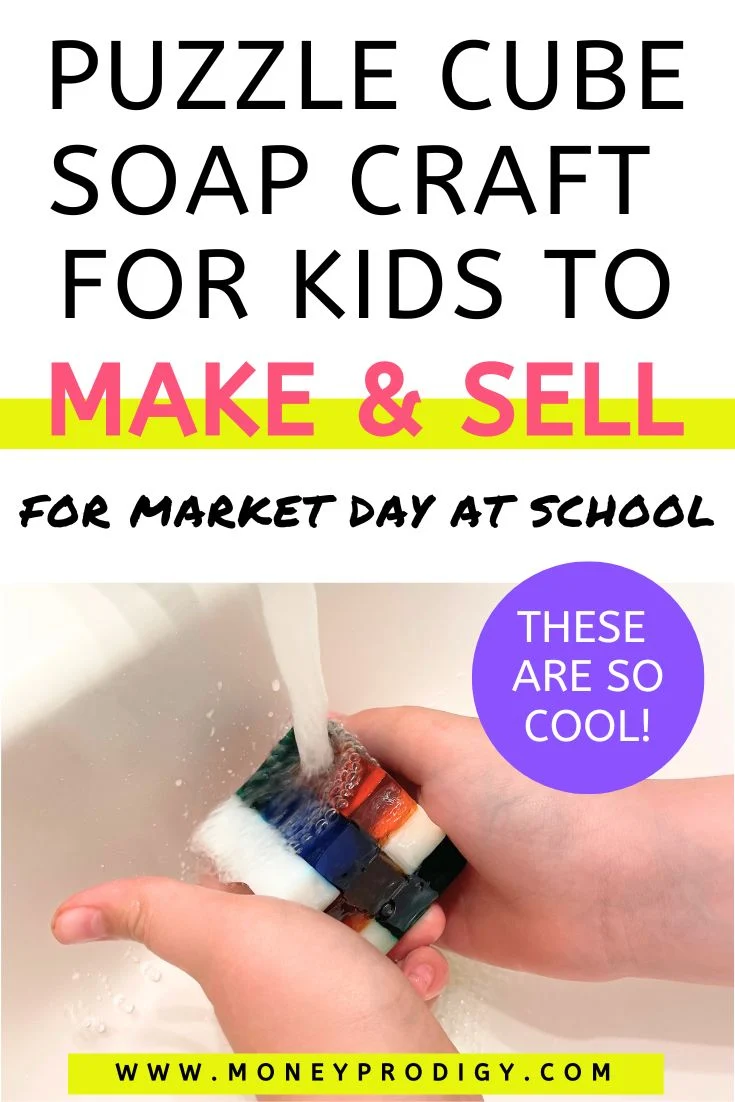
Here's a fun craft activity for kids to do. Kids can make and sell these puzzle cube soaps at school Market Day or even at a local farmer's market.
I got this idea to make a puzzle cube out of soap to sell for Market Day at school.

And I’m so glad I finally made them, because they turned out so well!
My 9-year-old son is loving them, and he’s considering making his own batch for his 3rd-grade market day at school this year.
This is also such a fun craft activity for kids to work on.
How to Make a Puzzle Cube Soap
My 9-year-old son is like many others his age: he loves puzzle cubes. This is why I think these could be a bestseller on an entrepreneur day, market day, or even at a farmer’s market.
Here’s the gist of what we’ll be doing: making clusters of dyed cubes and then assembling them into something that resembles a puzzle cube.
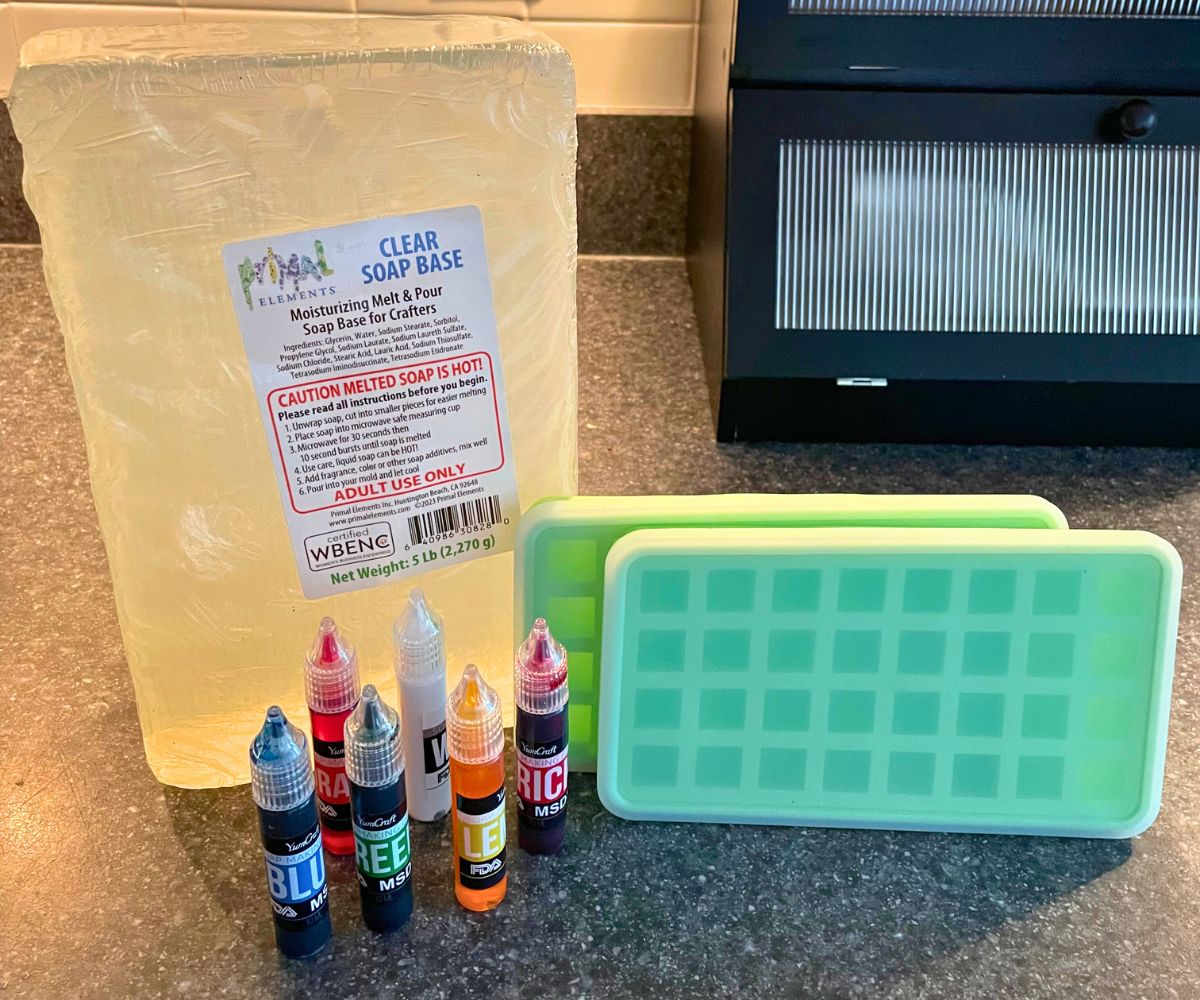
List of Materials You’ll Need:

Let’s get started!
Step #1: Cut the Soap Base to Melt
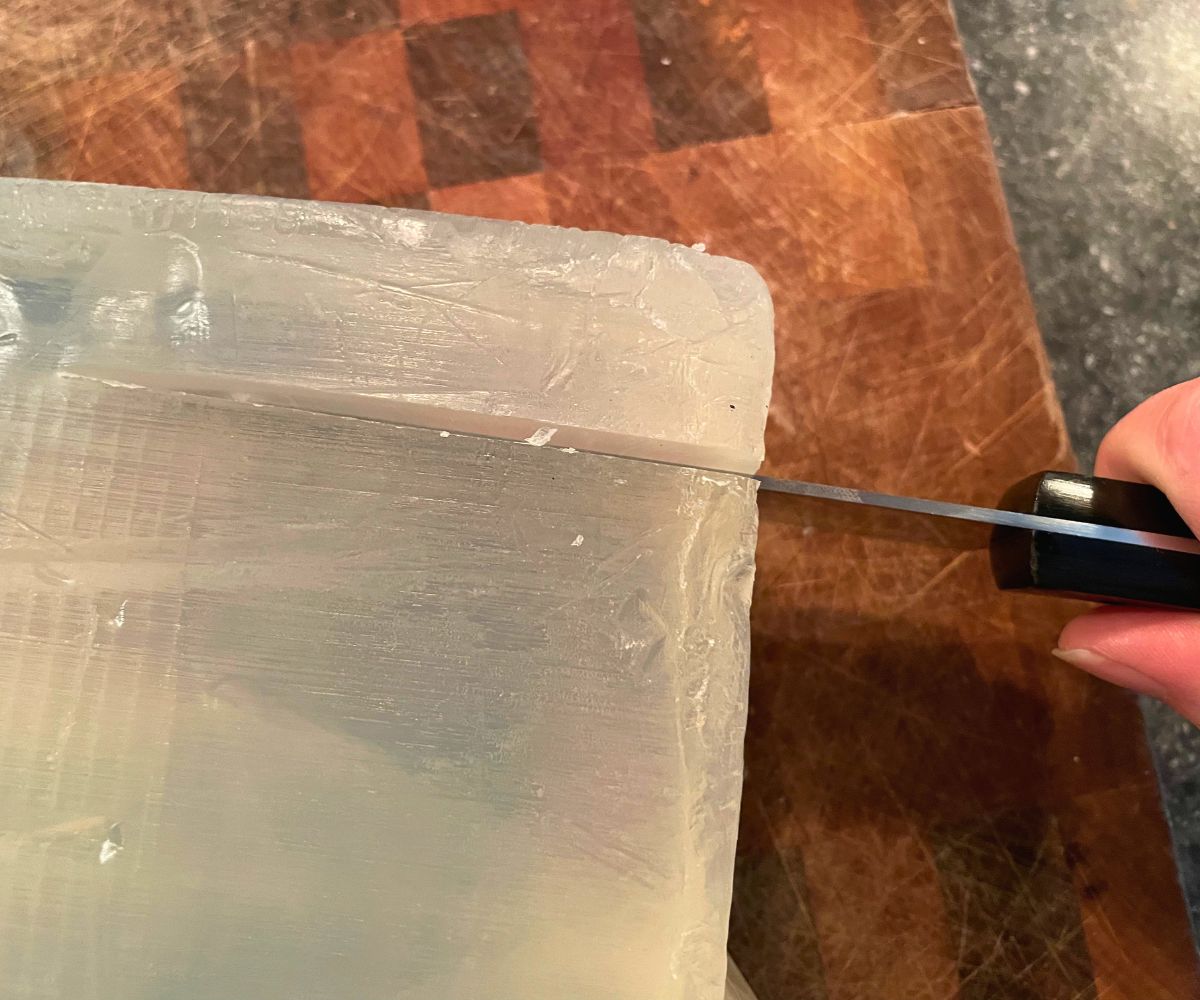
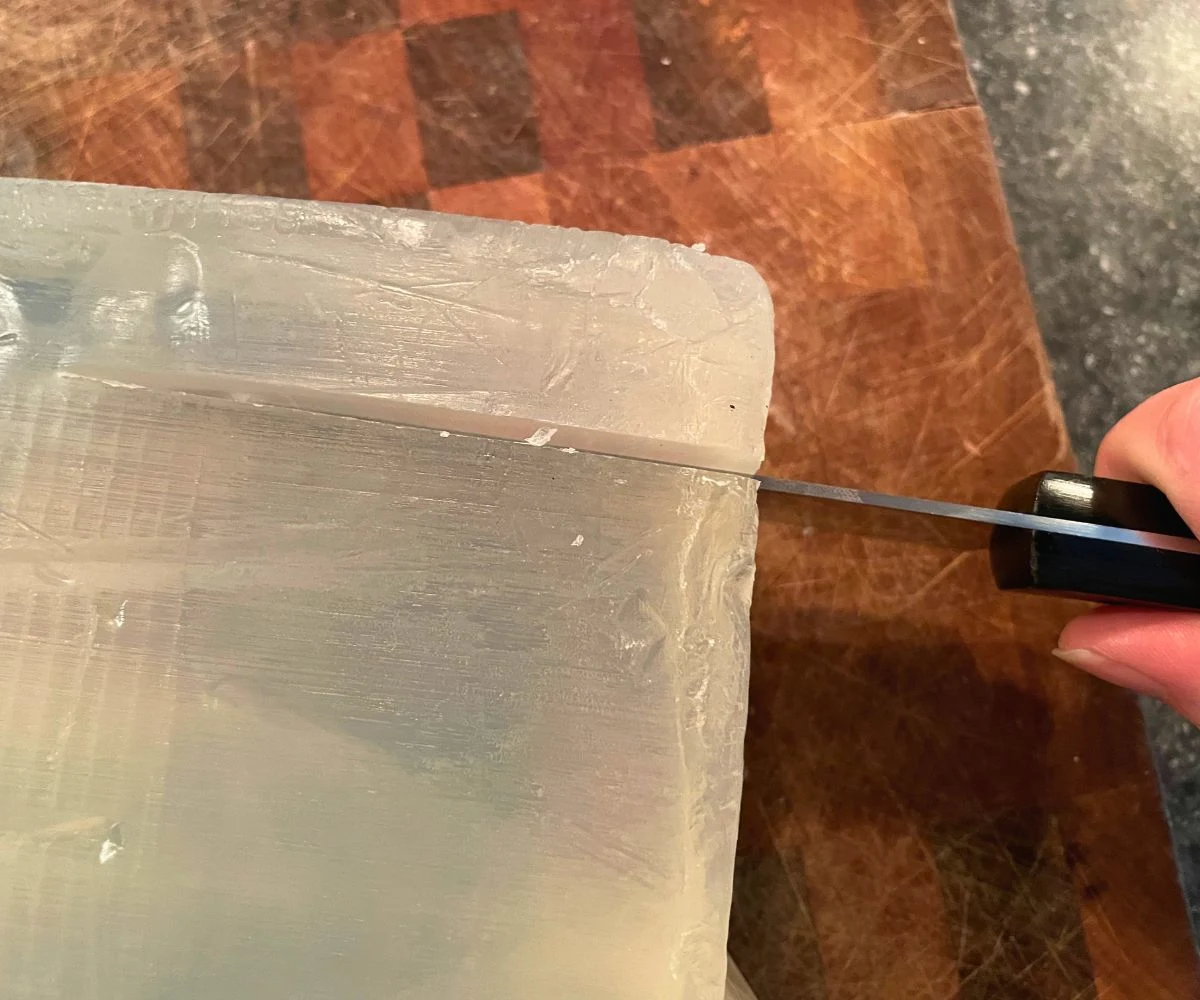
I found that to fill the tray of cubes, I needed to cut a little over 1” X 3.5” from the soap base.
Step #2: Melt the Soap Base

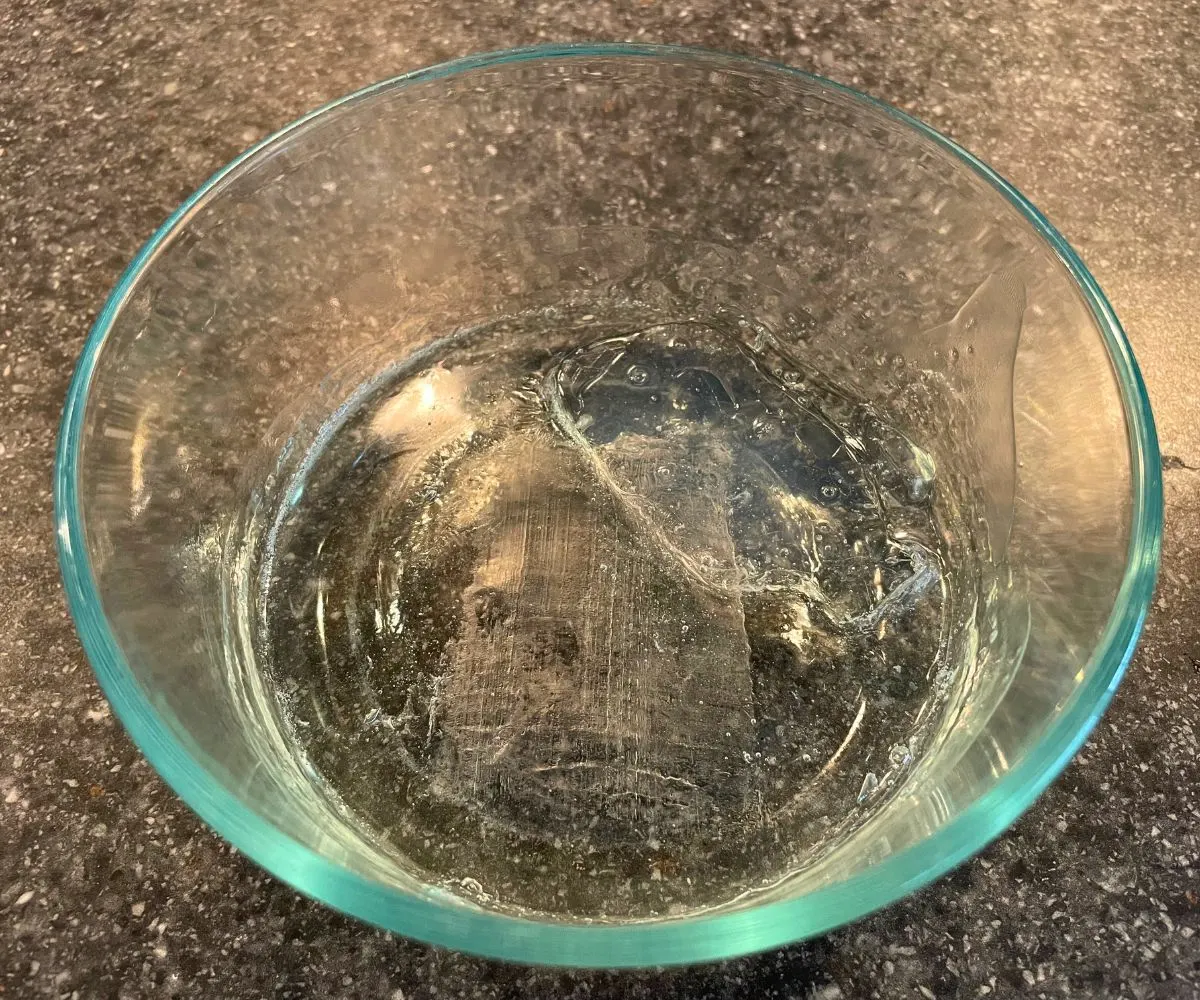
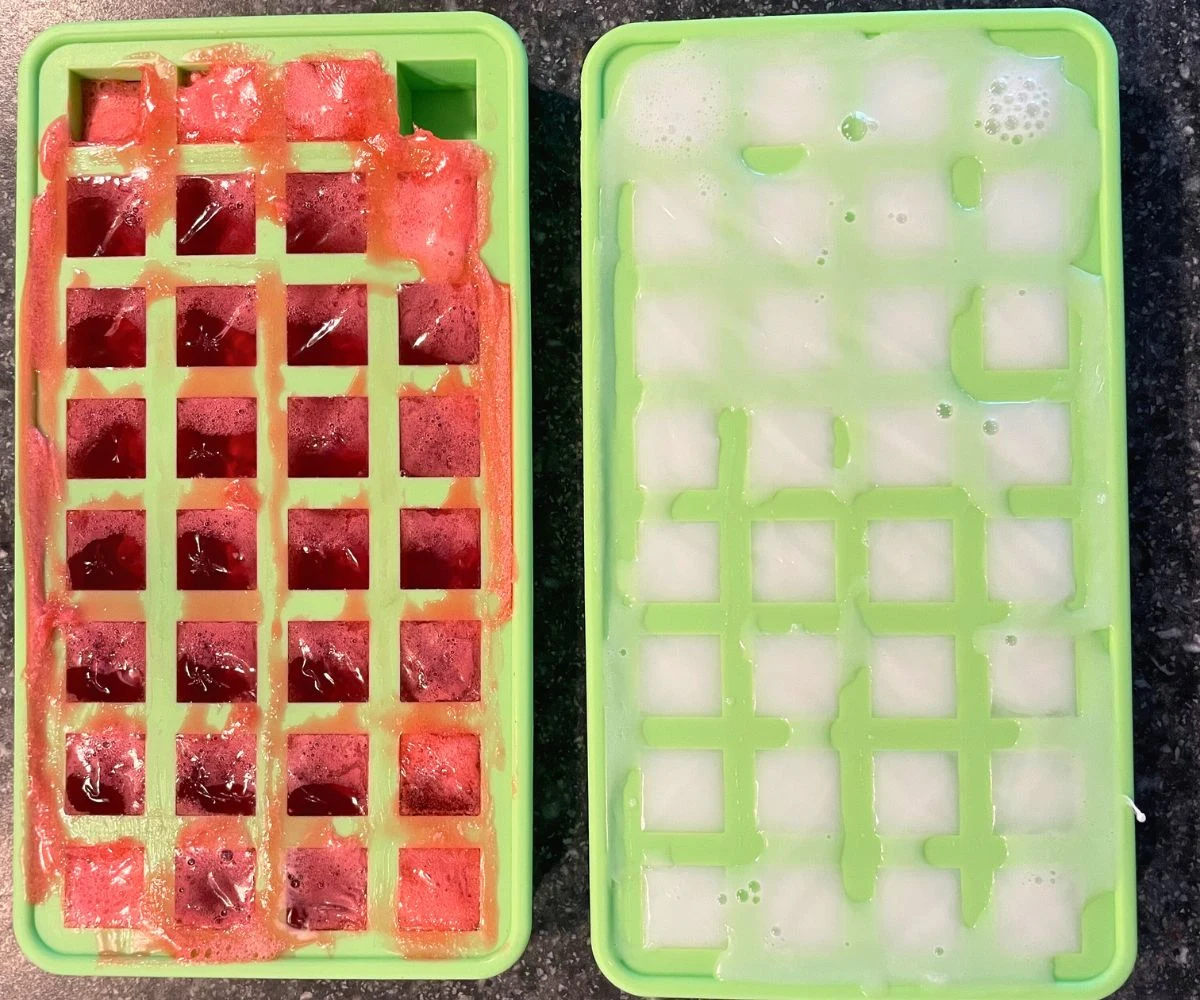
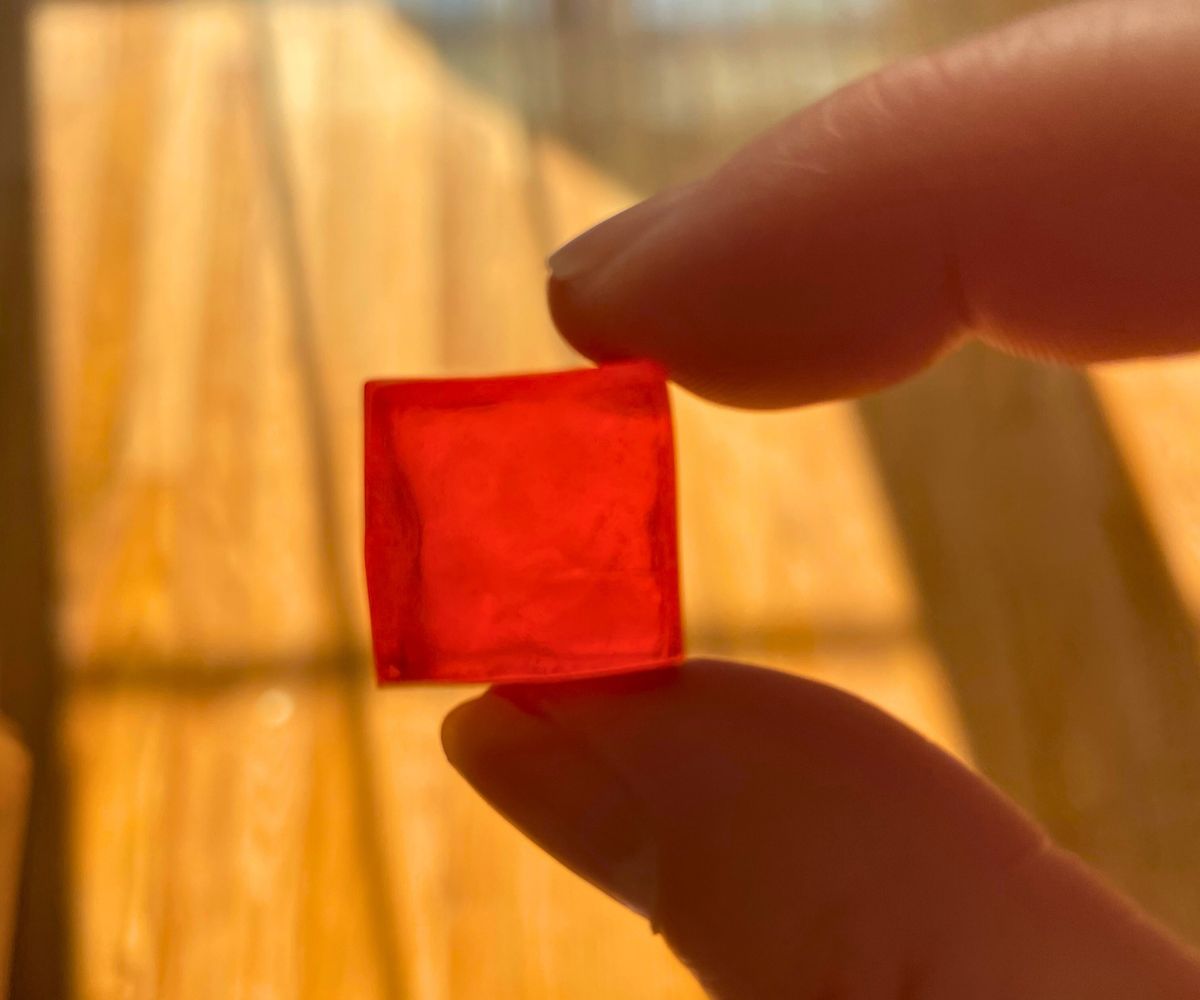
I melted the soap base by putting it in a microwave-safe bowl for 45 seconds, stirring slightly (if you stir too vigorously, you’ll get a bunch of bubbles or fizz – not the red one below with lots of bubbles, vs. the white one where I learned to hardly stir), then zapping it for another 25 seconds.

Step #3: Add Coloring
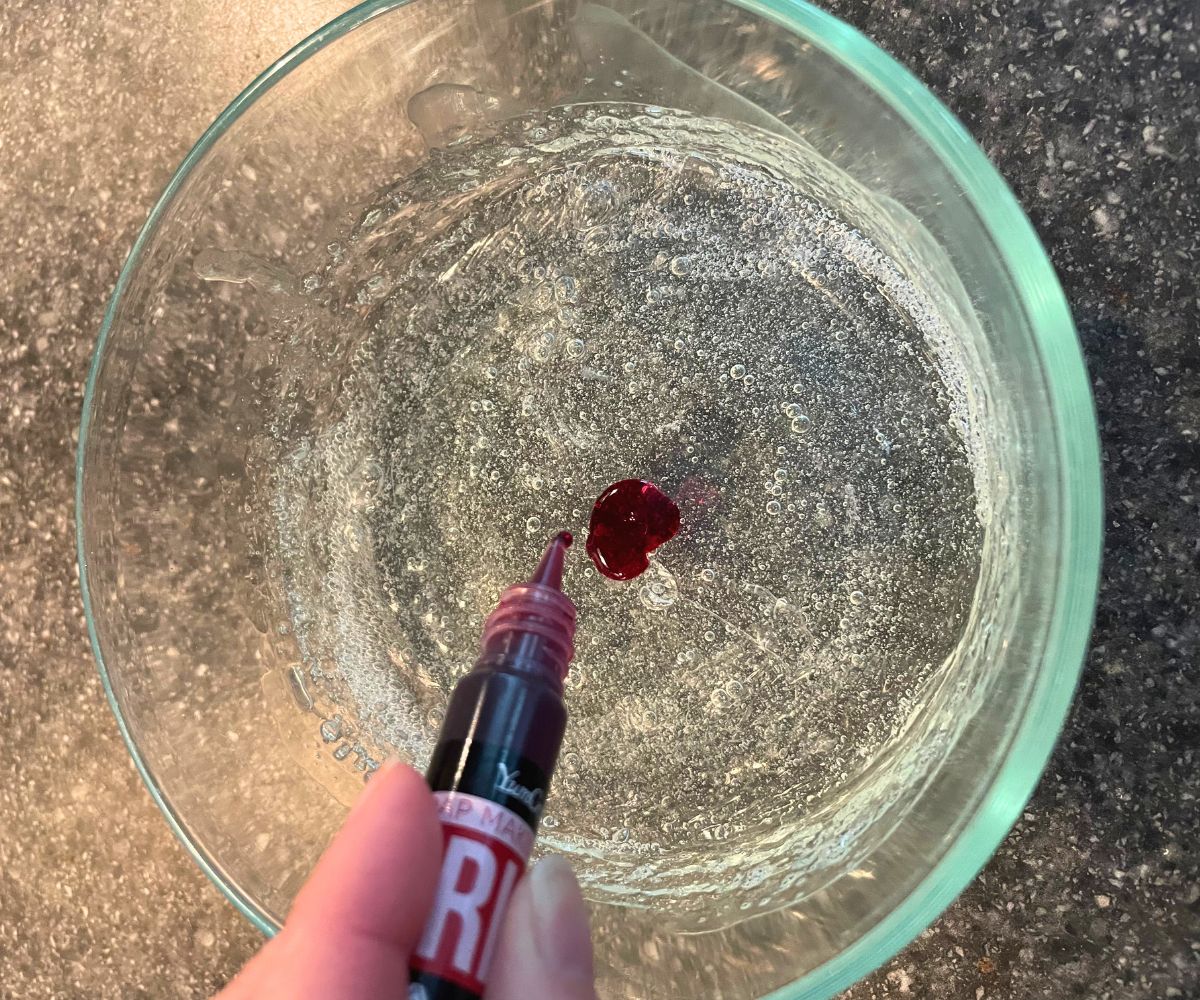

Add in your first color. I used about 20 drops.
Stir until it’s combined.
Hint: I found this dye to be pretty easy to clean up if I got it on the kitchen counter. Also, we've been using our own Puzzle Cube soap for about three weeks now, and no stains to speak of.
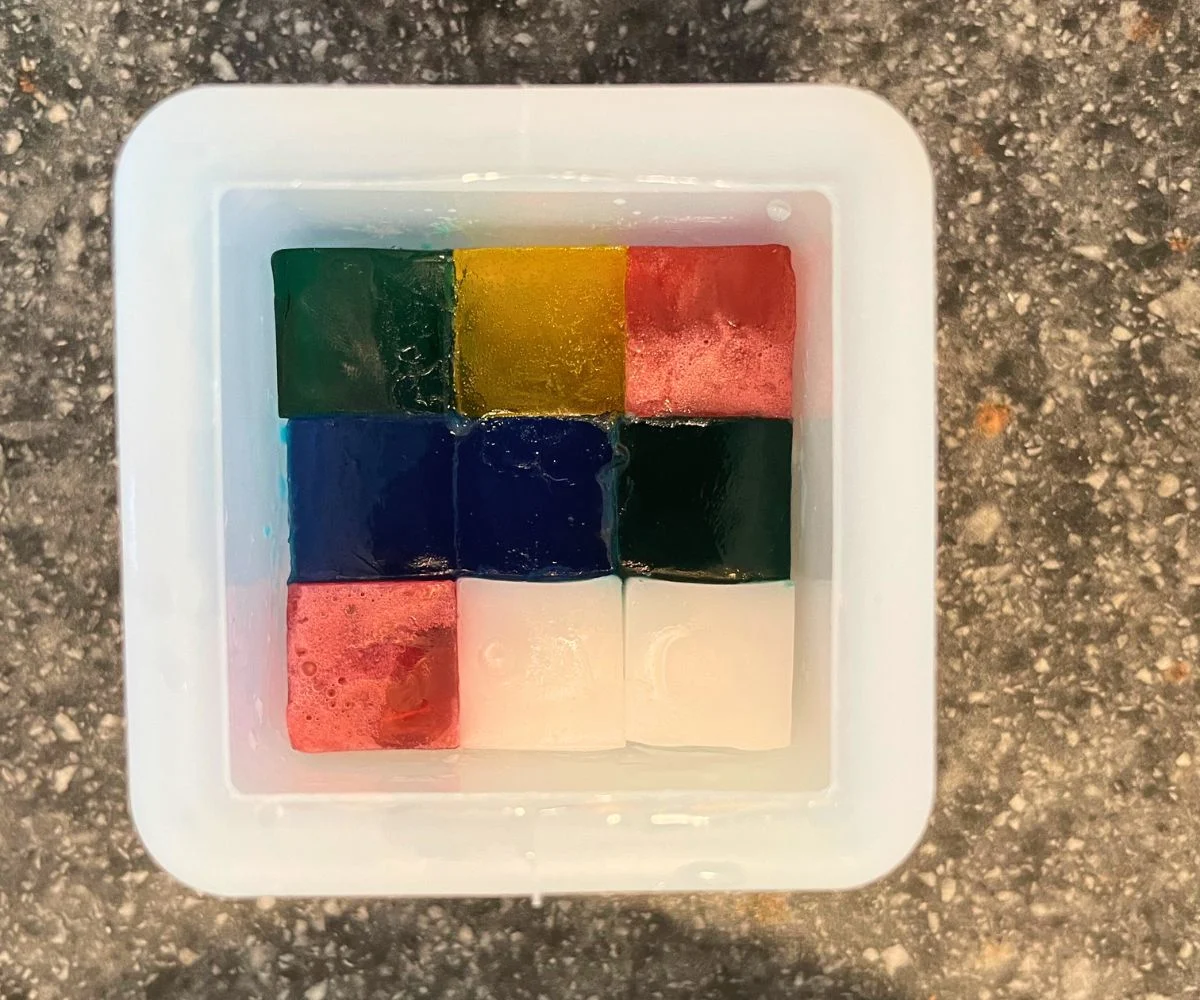
Step #4: Pour the Soap into the Small Cube Mold
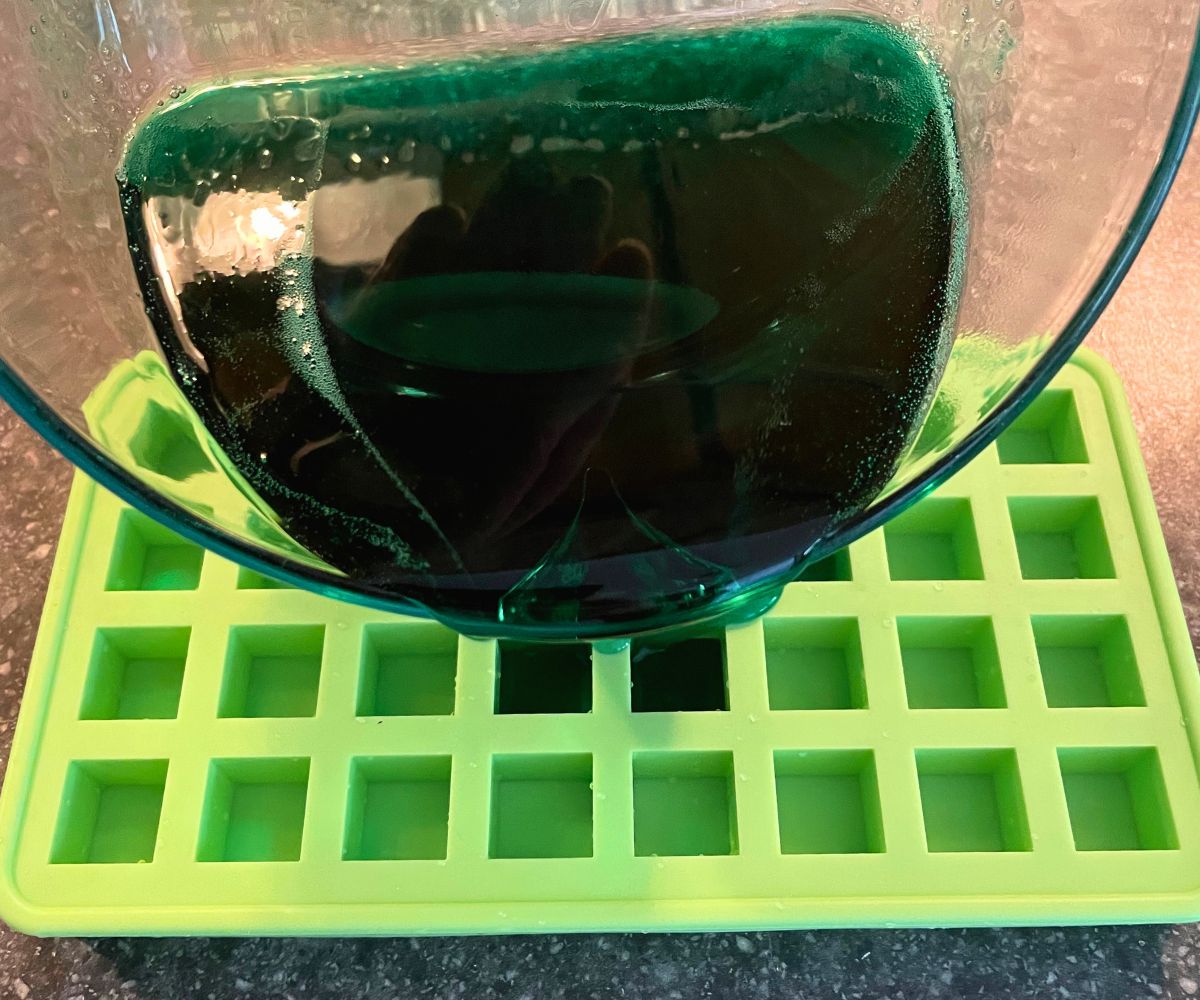

Carefully pour the melted, colored soap into your small cube mold.
Use a spatula to move the melted soap around until each square is filled in.
Set aside for about 30 minutes, or put it in the refrigerator until it sets.
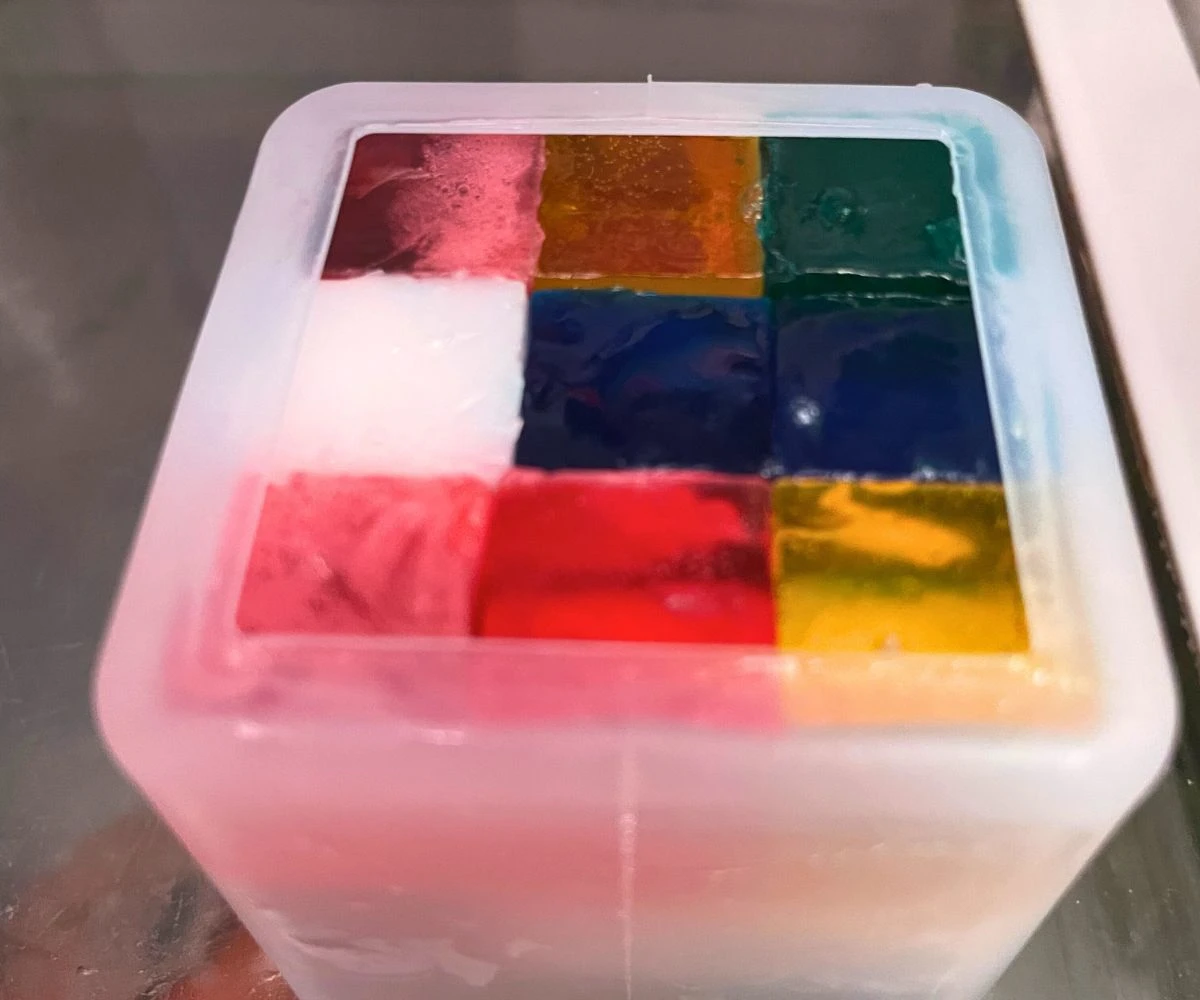
Step #5: Pop the Cubes Out of the Mold


You'll find these pop out pretty easily (thank goodness!).
You’ll repeat the melting and coloring process for each color that you want. For example, I made colors like the Rubik’s cube: orange, red, yellow, green, blue, and white.
Step #6: Build the Puzzle Cube


Use the silicone medium cube mold.
Heat up some water in a small bowl (I microwaved for 40 seconds).
You’ll build the cube now inside the silicone medium cube mold by dipping each small cube into the warm water, and then putting the cubes into the silicone mold.
The mold will keep things tight.
When you are finished adding three different layers, squeeze each opposite side at the same time to push everything together nicely.
Put the mold into the refrigerator until it sets (about 20 minutes).
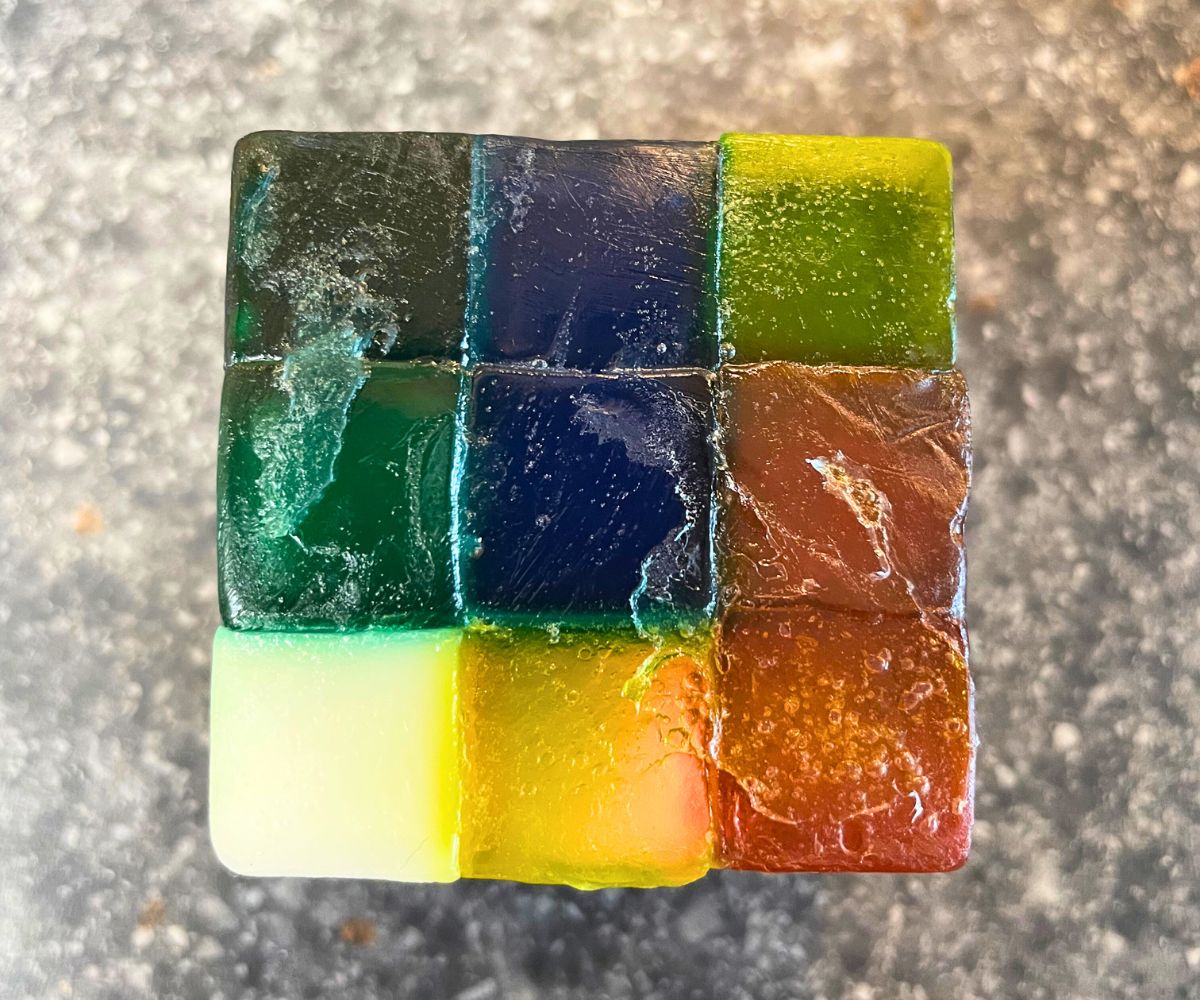
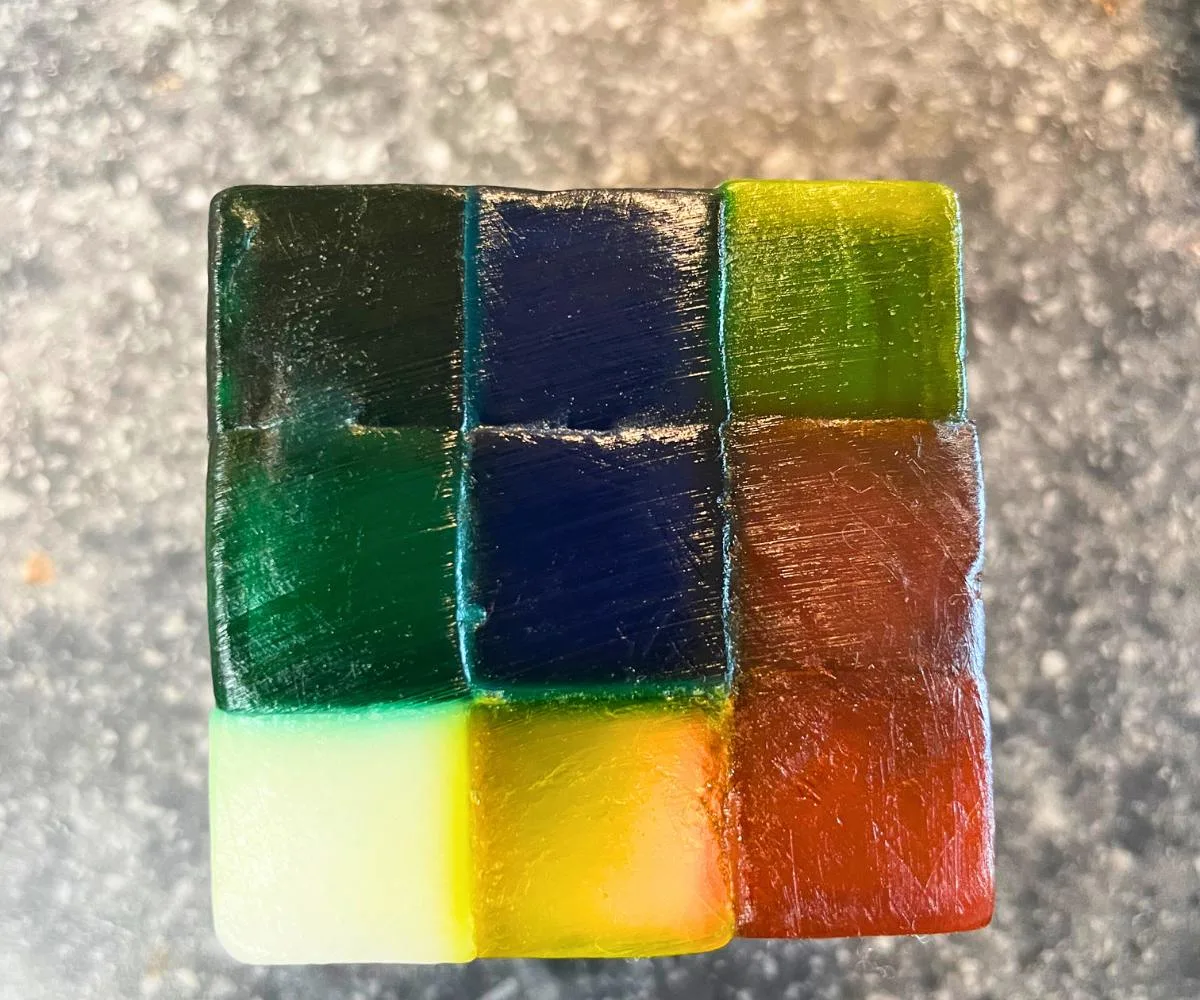
Step #7: Pop the Puzzle Cube Out

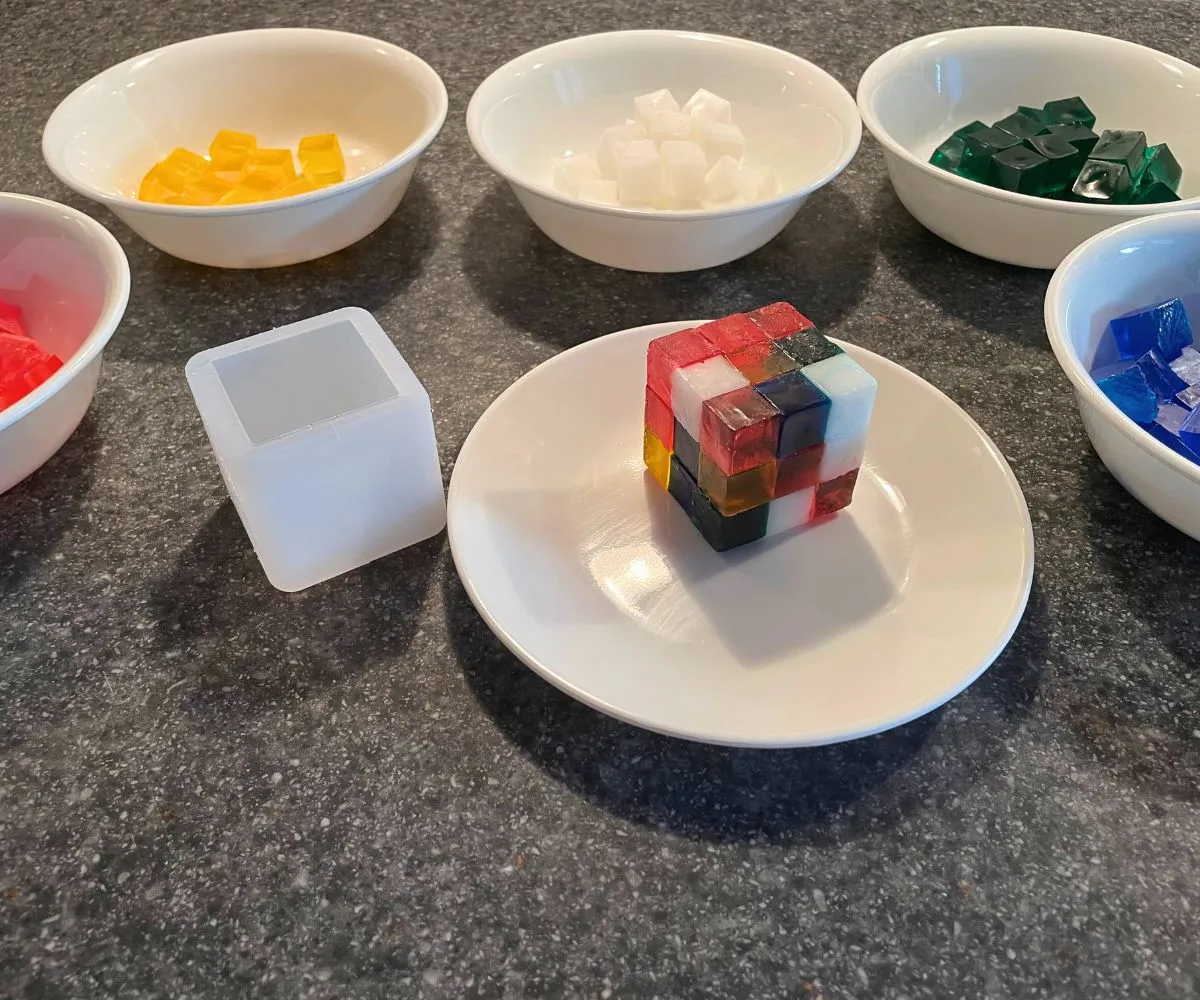
Once it’s set, you can pop the puzzle cube out.
You might notice one side has some smudges, or some of the squares have smudges. No worries!
Just use a damp paper towel, and wipe them off.


Step #8: Package them up (optional)
If you’re going to sell these, you’ll want to package them up. You can use these plastic bags and some ribbon.
You could also put them in a large jar, and then get them out with a pair of tongs and put them into a plastic bag when a customer orders.
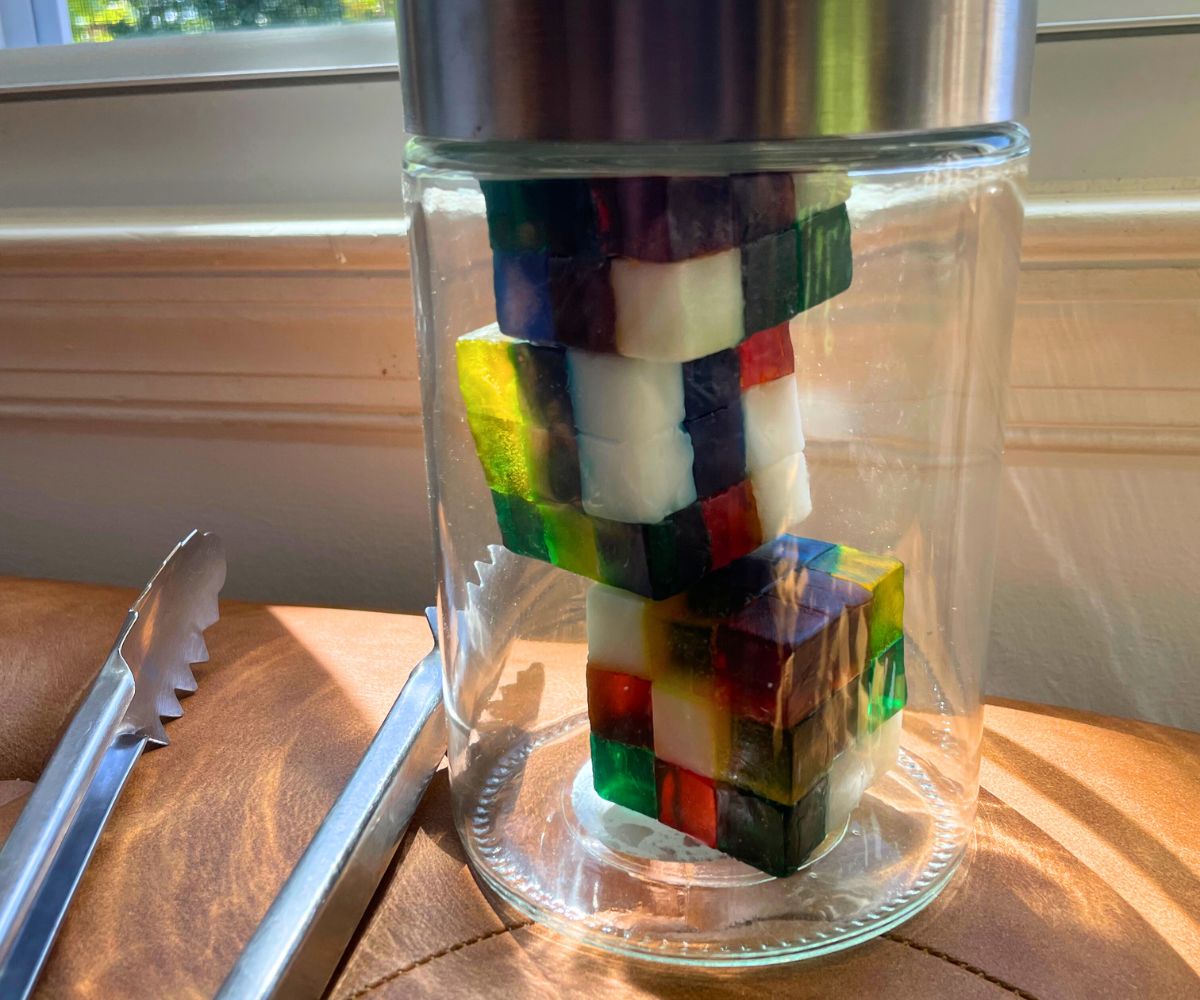
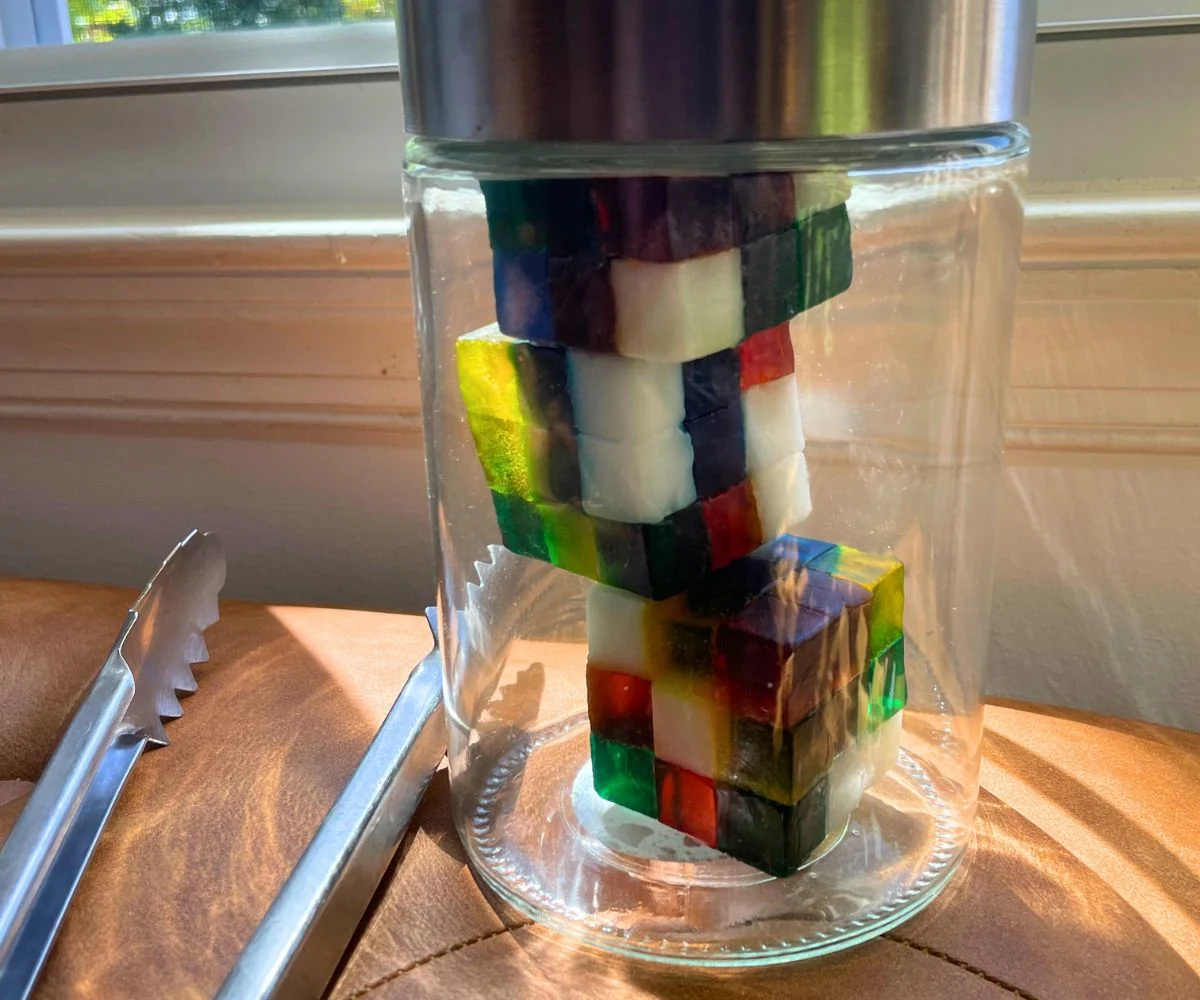
Or, come up with your own idea!
You'll also need to come up with a price for them. Here's how to price your Market Day product for sale.
Check out more things to sell on market day here.
Amanda L. Grossman is a writer and Certified Financial Education Instructor (CFEI®), a 2017 Plutus Foundation Grant Recipient, and founder of Money Prodigy. Her money work has been featured on Experian, GoBankingRates, PT Money, CA.gov, Rockstar Finance, the Houston Chronicle, and Colonial Life.
Amanda is the founder and CEO of Frugal Confessions, LLC. Read more here or on LinkedIn.