Details on how to teach budgeting, complete with Level 1 to Level 3 budget objectives and skills to master before moving on.
How to teach budgeting?

Especially when…
- Kids and teens come to the table with varying capability levels
- You’ve got limited time to teach financial literacy
- Students don’t understand what things really cost in the real world
- Some kids have been receiving an allowance for years, while others receive no money to work with at all
Typical budget worksheets, while helpful, aren't really set up for these challenges.
That's because most budgeting worksheets for teens and kids look the same: a spot to fill in “income”, a spot to fill in “expenses”, and then a column for some simple math to make sure everything works out.
And that’s it…
Here’s the one thing I want you (and your students) to understand from this article:
A budget worksheet is not a piece of art. It’s more like a football playbook that gets marked up, crossed-through, erased, and in general, worked up as the week moves on.
Especially for kids and teens, who are still learning the budgeting process.
Before we dive into the how of teaching budgeting, let's get clear on the budgeting skills your students need to learn.
Budgeting Skills Kids and Teens Need to Learn
It’s always good to understand the end goal (even if your students won’t reach these for years into the future).
So, what exactly are the budgeting skills you’re trying to help them develop?
Hint: don’t look at this long list and click off my site – I promise I’ve got some help for how to tackle it, coming up.
Your students will eventually need to know how to:
- Choose a budget cycle duration (weekly, bi-weekly/by paycheck, monthly)
- Be able to create both a one-time, occasion-based budget (like with this prom budget template) as well as a personal weekly/bi-weekly budget
- Recognize opportunity costs they’re giving up when they prioritize how they’ll use their money
- Understand needs vs. wants, and how to budget for both
- Create and try on a new budget, based on a future life scenario
- Track bill due dates, and line those up with income sources
- Track spending, and how that compares to the budget they created (planned vs. actual money use)
- Calculate budget percentages (this free 100 pennies budgeting activity will help) and compare them to see how their use of money is aligning with their priorities and money values
- Understand the difference between fixed and variable expenses
- Know how to account for a monthly cost/bill on a weekly budget cycle
- Understand how to carry a multi-week/multi-month money goal from one budget worksheet to the next
Woah. That’s a lot – and you typically won’t find spots on teen and kid budget worksheets to support them learning these skills.
So how exactly do you get your students to be able to do all of this, from where they are right now?
Fortunately, I’ve put a lot of thought into this very problem.
And I’ve come up with three different levels of budgeting – so that you can teach students budgeting where they are at right now, and have a clear path forward with how to help them develop those critical budgeting skills.
How to Teach Budgeting – from Beginner to Advanced
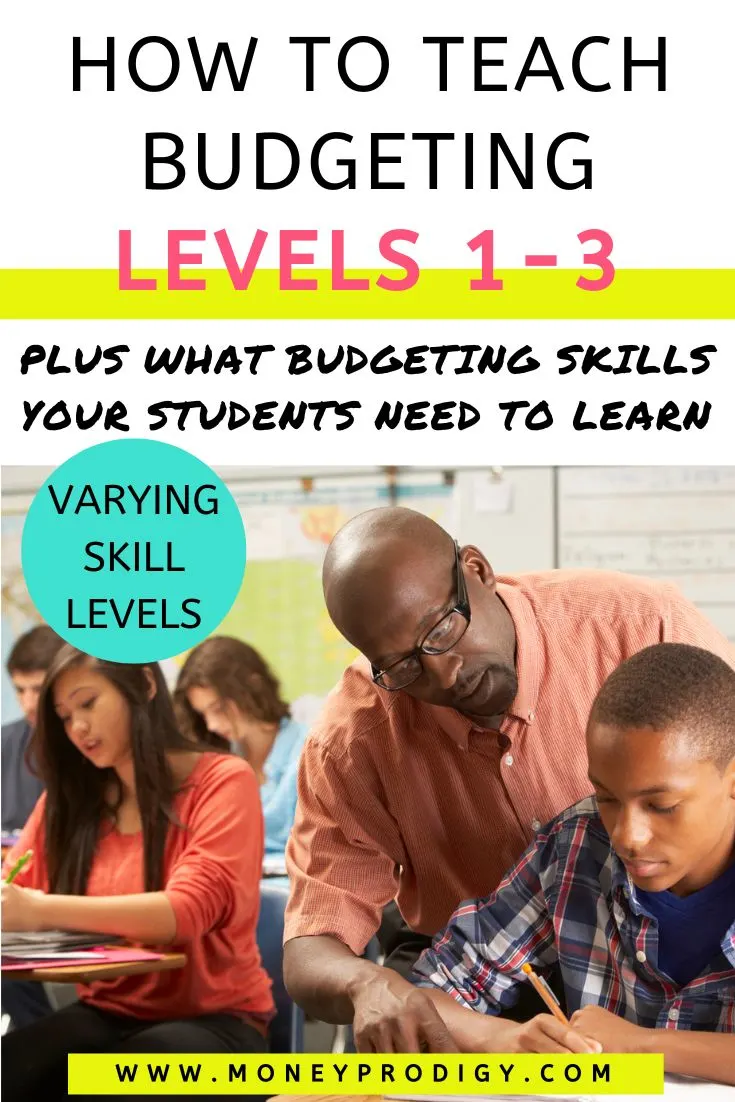
Let’s face it – even within one classroom of same-aged students, you’re dealing with varying capabilities.
Different learning capabilities, different money skills, different interest and engagement levels, different everything.
That’s why I started thinking of how to teaching budgeting in terms of different levels.
Some students will start off at Level 2 (since their parents already taught them how to do this at home, or they pick things up really quickly), while others will linger in Level 1 Budgeting for a year or more.
And that’s totally okay – I just want to give you the tools you need to teach a baseline level of budgeting for everyone you work with.
One thing to remember:
Each level builds from the previous one – so don’t skip ahead. If a student is not quite grasping the level you think they're at – they’re missing a point or two from the previous level – then go ahead and have them do the lower-level budgeting worksheet for a few weeks until they pick the skill up and can move onto the next level.
| Level 1 Budgeting | Level 2 Budgeting | Level 3 Budgeting | |
|---|---|---|---|
| Prerequisite Skills | – Can write dollar and cents in numbers – Can do simple money calculations by hand/calculator (addition and subtraction) – Understands a one week amount of time on a calendar | – Level 1 Mastered Budgeting Skills | – Level 1 Mastered Budgeting Skills – Level 2 Mastered Budgeting Skills |
| Objectives | – To separate the thought of wanting to buy something, from the actual transaction – To understand the basics about budgeting – a plan for how to use a set amount of money, over a period of one week – To understand how to use a (very) basic budget worksheet | – To translate a budget plan from worksheet into real life practice that gets measured – To prioritize planning for some spending over others (needs vs. wants) – To begin using a budget worksheet to make plans for future spending, (beyond one week) | – To be able to budget for different periods of time (weekly/bi-weekly/monthly) – To calculate spending percentages & compare them with their priorities – To incorporate a savings goal into their budget – To plan for a monthly cost, no matter the budget duration/period |
| Budgeting Skills to Master in this Level | – Know the difference between income and spending/expenses – Know that money is a limited resource, and you need to make choices with how to use it – Plan for specific-item spending – Be able to read a store receipt well enough to track spending | – Plan for category-level spending – Understand needs vs. wants, and which gets prioritized in a budget – Understand and identify Opportunity Costs – Calculate the difference between “planned” and “actual” uses of money – Reflect on how things went, and start making tweaks for their next budget | – Can calculate budget percentages & compare planned vs. actual – Understand fixed expenses vs. variable expenses – Can track spending across multiple sources (checks, debit card, cash, etc.) – Can juggle money & make tweaks without throwing the whole budget out – Calculates and accounts for money goals on any budget worksheet |
Now, let's dig deeper into each of these three levels.
Level 1 Budgeting – What it Looks Like
At this point, the kids you’re teaching budgeting to have likely never seen a budget before.
They get money – either consistently through a Kid Money System (allowance, chore commissions, etc.), or inconsistently (birthday money, Christmas money, vacation spending money, etc.) – and they think about what to do with it right around the time that they make the transaction.
Like, when they get to a store and they pick out what they want.
SO, the big goal here is to introduce the basics of budgeting, and introduce them to a very basic budgeting worksheet that will separate the thought to spend money from the actual transaction.
What do I mean by that? I mean that they’ll plan (at least a tiny bit) ahead of when they make a transaction with their money.
Instead of buying something on the spot, they’ll think through a day, or a few days ahead of how they want to use their money.
They may or may not follow through with their plan – and it’s okay if they don’t. The biggest thing is that they’re thinking about planned spending at this stage of the game.
The Level 1 Budget Worksheet
Level 1 budgeting should look more like a football play sheet. Keep things simple. Do one to three money plays (i.e., what they'll plan to do with their money), for one period of time (just a week).
One plan, one-three plays, one week.
At this point, kids are probably not doing any planning for their money at all – they just get money sometimes, and they spend it willy-nilly.
This worksheet will help them to simply start thinking of their money in a pile instead of a $5 here, a $1 there, and to start to plan for it.
The big takeaway for them is that they have a limited amount of money, for a specific period of time. How do they want to use it?
Level 2 Budgeting – What it Looks Like
Level 2 budgeting is very different from Level 1 budgeting.
For starters, they’ll begin to work on budgeting in terms of categories, and not just one-use ways to spend their money.
For example, budgeting for a “clothes” category instead of for “new tee-shirt”, or “hair scrunchie”.
This is important, because in Level 3 (and adulthood) they’ll need to look at their budget in terms of categories, and be able to budget their money within a category instead of just by each specific item.
Like, within their “snacks” category, they can choose how to use the total budgeted amount over the course of a week.
Maybe they:
- buy from a vending machine after school two days
- buy an extra snack at a baseball tournament on the weekend
- buy some nachos at the movies with friends
That’s their choice. When the money is gone for that category, it’s gone.
Hint: to truly understand how important this advancement to category-level spending is, think about trying to budget for each of the 100+ items we purchase each week as adults (between grocery items, household items, entertainment, etc.). No way! Instead, we budget by category, and save those one-off budgeting for big purchases and events.
Speaking of choices, students will also learn how to prioritize needs over wants in this level of budgeting. While some may not have “needs”, they might have things that border on needs such as spending on after school snacks vs. buying a new sci-fi book. After school snacks is more in the “needs” category than the book.
Here’s some more differences between Level 1 and Level 2 budgeting:
- Student starts prioritizing some spending types over others (needs vs. wants)
- Student evolves from item-specific budget planning to category-specific budget planning
- Their budget reflection process evolves to not just recording what they spent each day for the week, but to figuring out the difference between what they planned to spend on categories, and what they actually spent on categories
The Level 2 Budget Worksheet
There are now spaces for students to both account for specific items they want to spend money on, AND, to do an overall category total for spending.
They might start with the categories, or they might extract the categories after seeing patterns in their spending – it doesn’t matter at this point. So long as they start to see their budgeting and spending in terms of categories and not just specific items (like a hair scrunchie, a video game, a book, etc.).
Hint: there should be an area for them to brainstorm all the things they want to buy/need to buy this upcoming week, then they can list some of these items in their “parking lot”, and categorize the rest into spending categories with a specific amount to spend for each category.
What does a parking lot mean?
This worksheet should include what I like to call an “Opportunity Cost Parking Lot” area. It's where your students can “park” spending wants that they'd LOVE to spend their money on…but that don't take priority over need-based spending (or other spending they want to do, more).
Level 3 Budgeting – What it Looks Like
At this point in the game, your students are going to go from budgeting partly in categories and partly by specific items, to fully budgeting for categories only (food, entertainment, save money, etc.).
Your students are also going to start playing around with budgeting for different periods of time. Instead of having them only budget for one week, they could try budgeting bi-weekly (to mimic the typical bi-weekly paychecks they'll likely receive as a young adult).
And their budget reflection process is going to give them a much more holistic picture of their finances.
Not only will they calculate their planned spending vs. actual spending, but they'll also get practice calculating budgeting percentages to see how they’re lining up with their priorities.
The Level 3 Budget Worksheet
The Level 3 Budget Worksheet should support these more advanced budgeting skills your students are learning about and developing.
For starters, they want to start looking beyond just this week or this two-week period that they're budgeting for, and instead look at the entire month. So, there could be a blank calendar for the month ahead where they make notes of both spending occasions and income-earning occasions.
They'll need a bigger area for their budget reflection on this worksheet. In this section, they'll look at totals for all of their spending, totals for all of their savings, money they have leftover for next budget cycle, and the percentages.
That way, they get a more holistic view of how they're spending their money vs. how they planned to, and whether or not this aligns with their own priorities (and/or their parent's rules for things like spending on needs, spending on wants, and saving).
How to Teach Budgeting – No Matter the Level You're At
No matter what level of budgeting you're teaching, there are a few steps that will help.
1. Send a Note Home to the Parents
I fully believe that teaching our kids and teens how to manage their money is a PARTNERSHIP between educators and parents.
It can't just be one or the other.
Think about it: you can do lots in the classroom with them around budgeting, including:
- Teaching them budgeting concepts
- Having them plan out how they'll use their money
- Help them with budgeting and money math
- Letting them run a school/classroom store
- etc.
But when it comes down to it? The chance for your students to actually hold money in their hands and make real decisions about it in the classroom is much less than it is at home.
Home is where the rubber meets the road.
SO, sending a note home to parents about WHAT you'll be teaching their child, and WHEN this will take place can be really helpful.
That way, parents can a) get excited that their child is learning critical money life skills, and b) think about how to get money into their child's hands (aka, what I like to call their Kid Money System) so that they can take their classroom knowledge of money and put it to practice in real life.
2. Have them Fill Out a Real Budget
You could give them three choices, in the event that you have students who don’t have any money at their disposal (I’m sure this is the case, from what I’ve heard from other teachers).
They can:
- fill in their individual budget for the week ahead
- fill in a budget for a future event (either real, or make-believe)
- fill in a budget worksheet for a future life scenario, such as living with a roommate, going to college, etc.
3. Set a Reminder to Reflect on the Budget One Week Later
Remember, budgeting is a process and not a one-time event or activity.
As a class, they can bring their budget back in, and receipts, and fill everything out. Then highlight different categories, and do their percentages.
I realize this could be difficult for any number of reasons…but just throwing it out there in case the opportunity presents itself.
4. Reinforce with Fun Budgeting Activities
Sprinkle in some of these fun budgeting activities PDFs around actual budgeting in a student’s life – especially helpful since some students don’t have money at their disposal to budget with, and so might not be as interested in building and working on a personal budget.
Other resources to check out:
- Bill Pay Budget Project
- Go through one of these Financial Literacy Week Theme projects
- Budget Projects for High School Students
- Budget Projects for Middle School Students
I hope I've given you helpful direction when wrapping your head around how to teach budgeting to your students. Just remember that it's a progression of building different budgeting skills on top of each other. Just like anything else we teach in life!

Amanda L. Grossman is a writer and Certified Financial Education Instructor (CFEI®), a 2017 Plutus Foundation Grant Recipient, and founder of Money Prodigy. Her money work has been featured on Experian, GoBankingRates, PT Money, CA.gov, Rockstar Finance, the Houston Chronicle, and Colonial Life.
Amanda is the founder and CEO of Frugal Confessions, LLC. Read more here or on LinkedIn.